Chapter 2 is upon us!
* Fundamentals: All About Switches
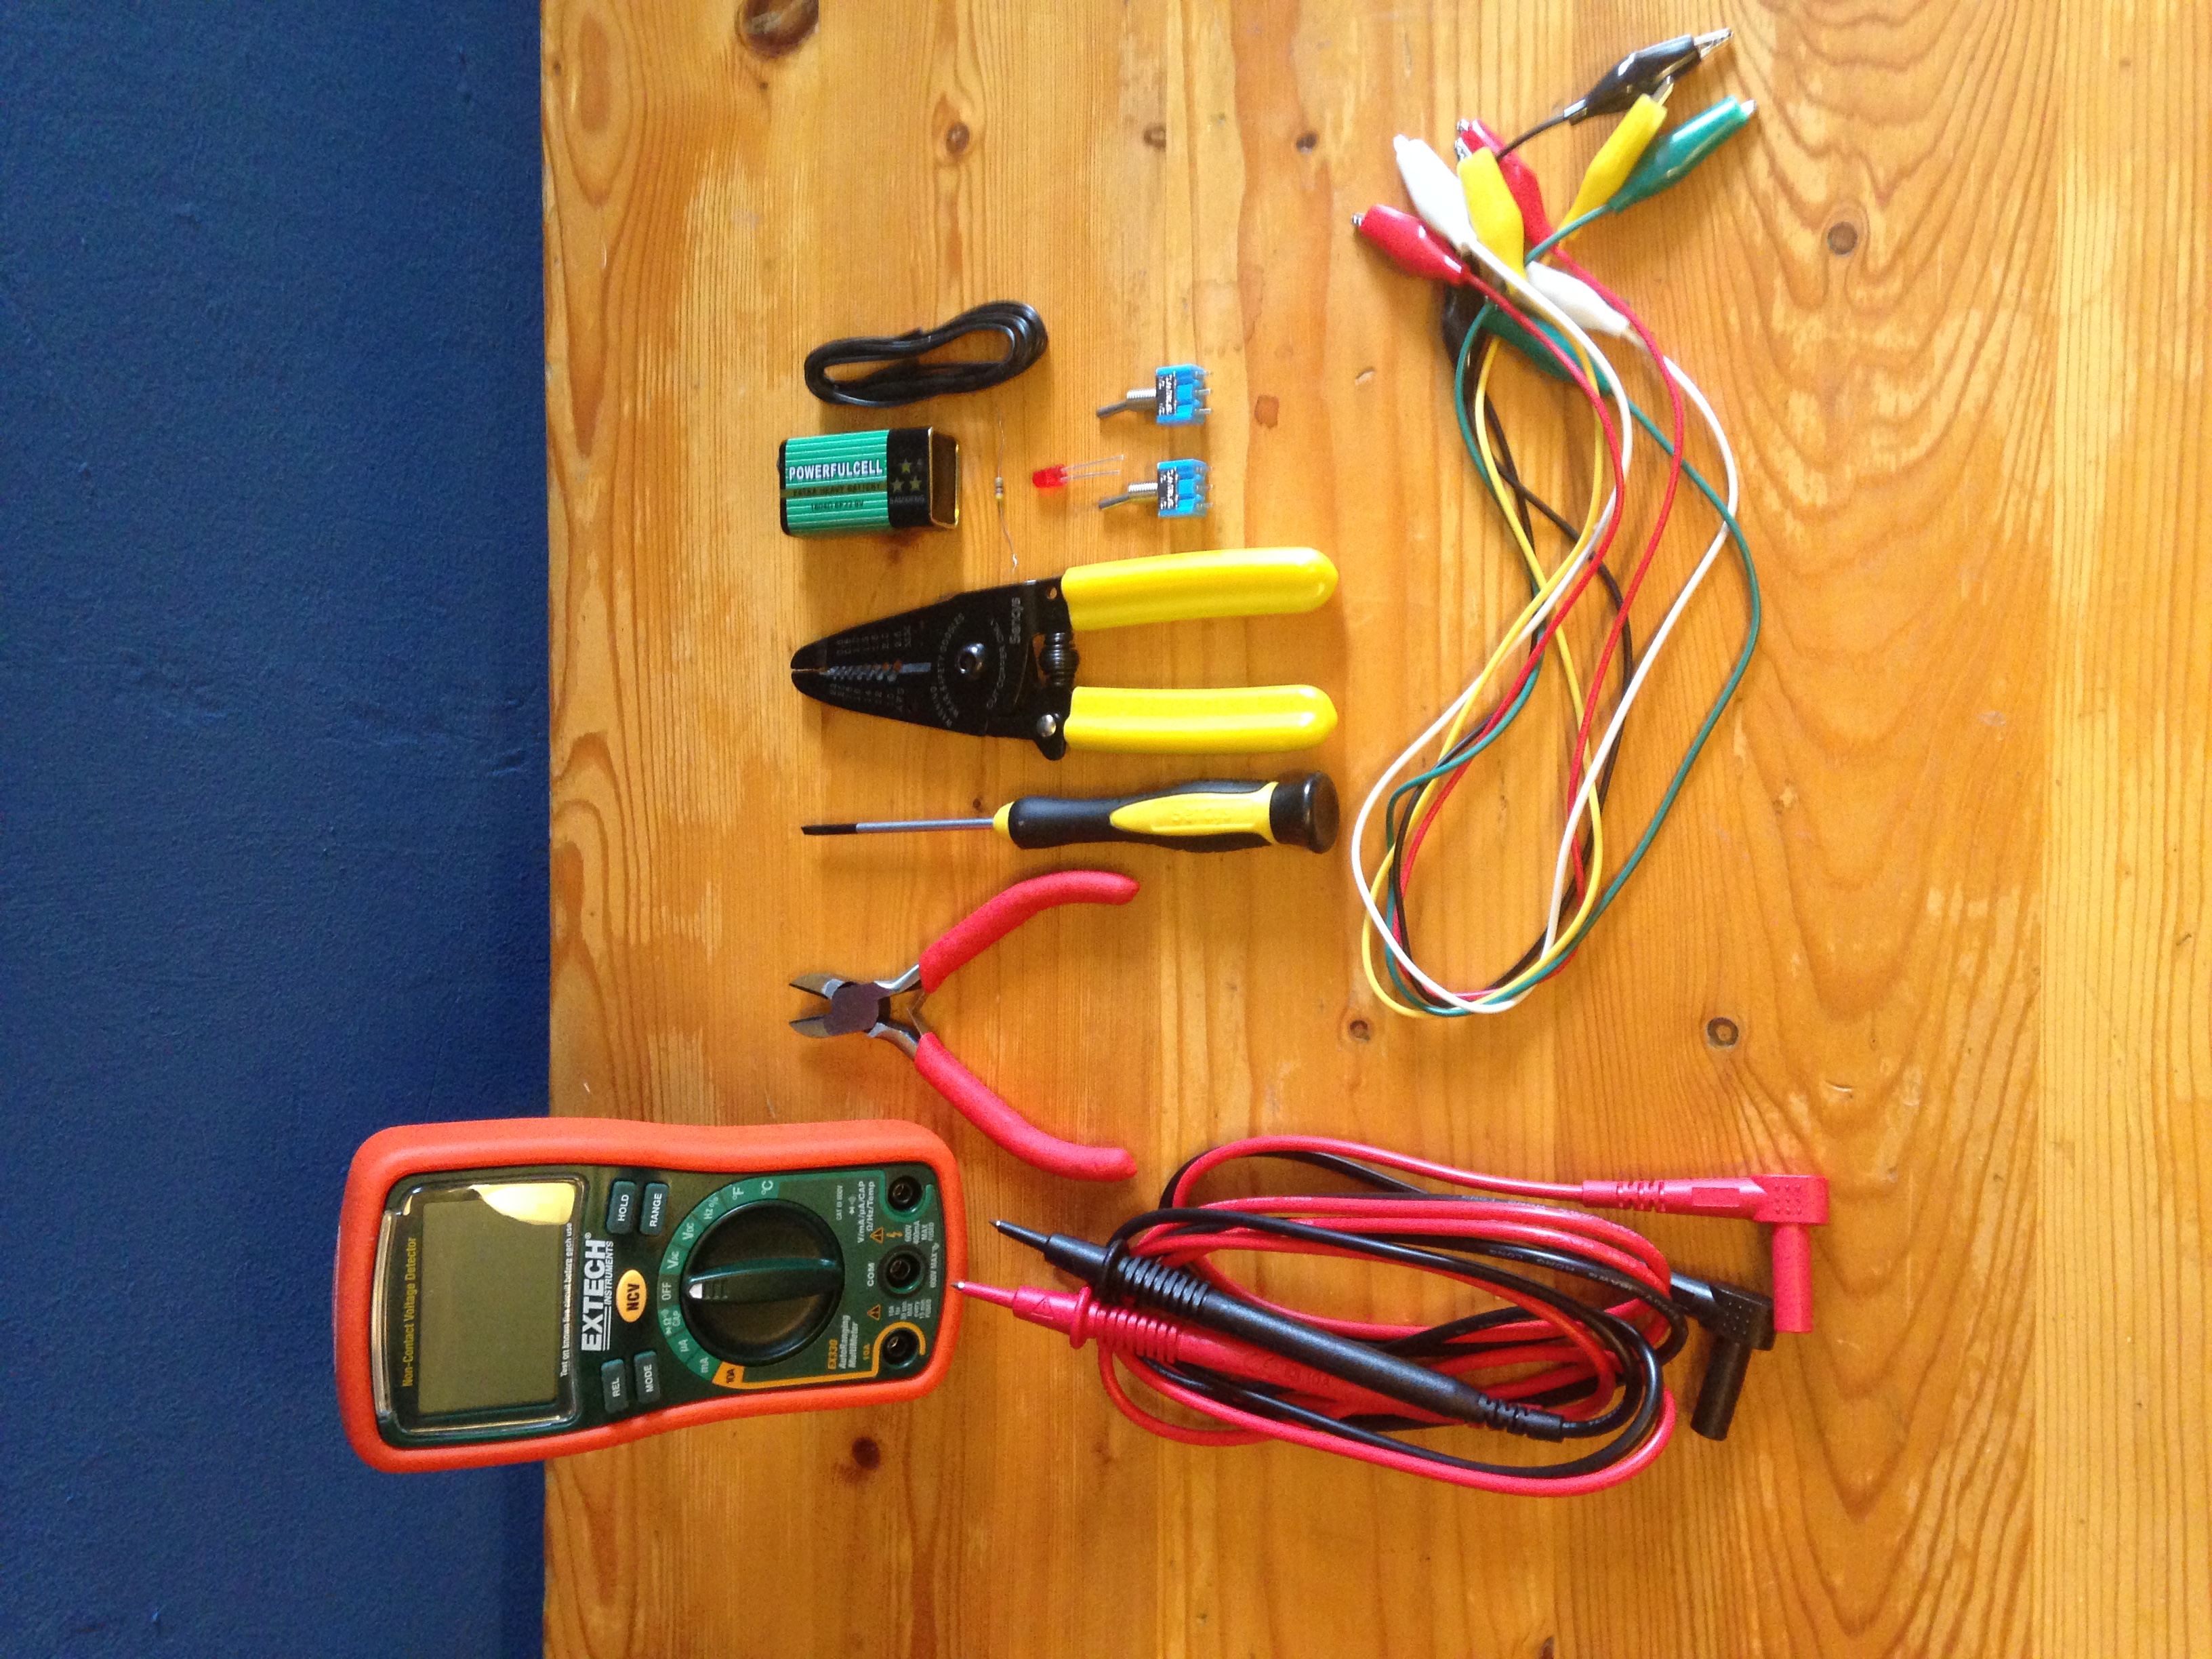
Note: My switches end in solder lugs, not screw terminals, so I followed Mr. Platt’s advice and used alligator test leads to connect the components together. If you’re in a similar situation, use test leads of different colors so it’s easier to see what parts are connected together.
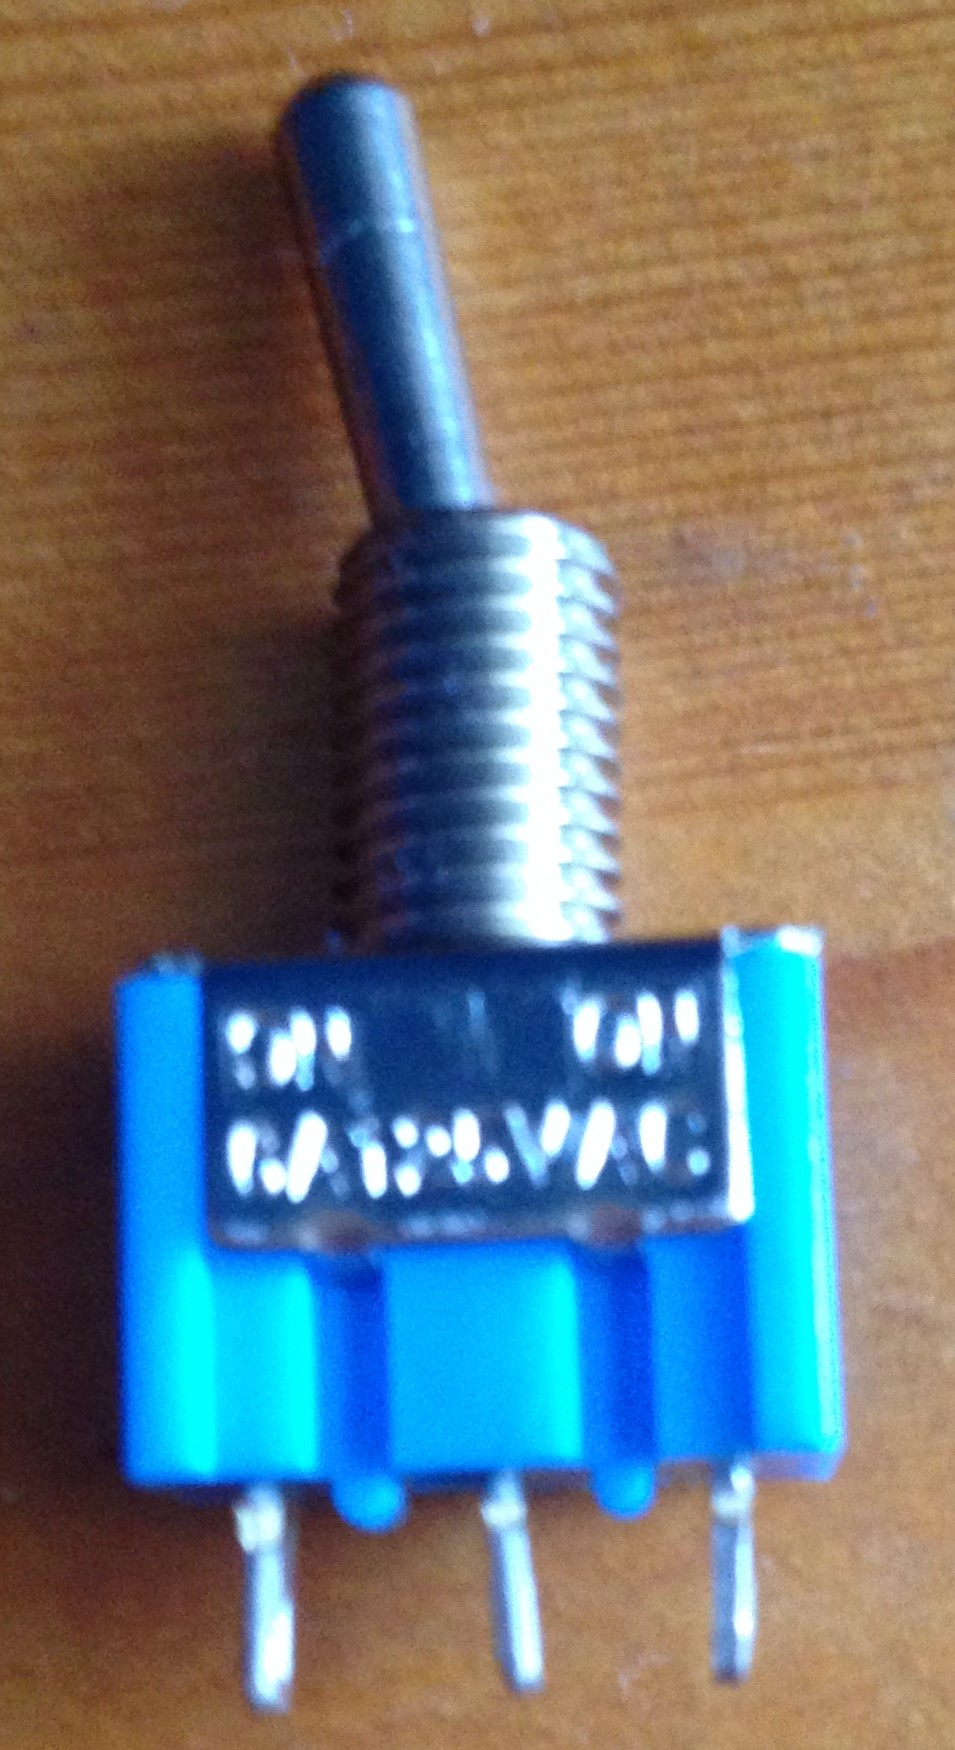
Switch with solder lug terminals
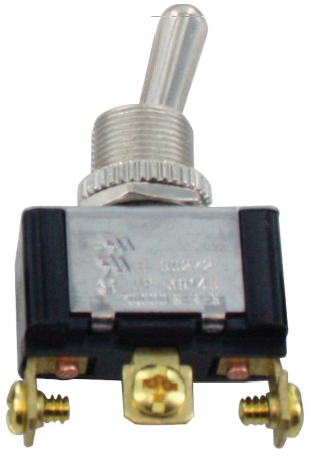
Switch with screw terminals
To see what other types of lugs a toggle switch can have, visit the Toggle Switch section of the Digikey website and scroll through the Termination Style section. If you select one and click Apply Filters, you’ll be shown switches with only that kind of termination style. Look at the pictures, when do you think each kind of terminal type would be most useful?
https://www.digikey.com/short/j90bh4
The book introduces several configurations of switches, you can see these in the Circuit section, see how many you can recognize from the book!
https://www.digikey.com/short/j90bh4
Don’t worry about not knowing what all the specifications of the switches on the website mean. The book introduces the most important ones gradually (the ones you actually need to know about to make the experiments). The world of electronics is vast, so relax and enjoy the ride!
If you have a toggle switch with screw terminals and will use hookup wire to create the connections, be sure to use a wire stripper for the right wire gauge. While you don’t need to use 22-gauge hookup wire to make the connections for this experiment, this wire gauge will be needed for almost all of the experiments from Experiment 8 onward, so it would be wise to just buy hookup wire with 22-gauge from the get go.
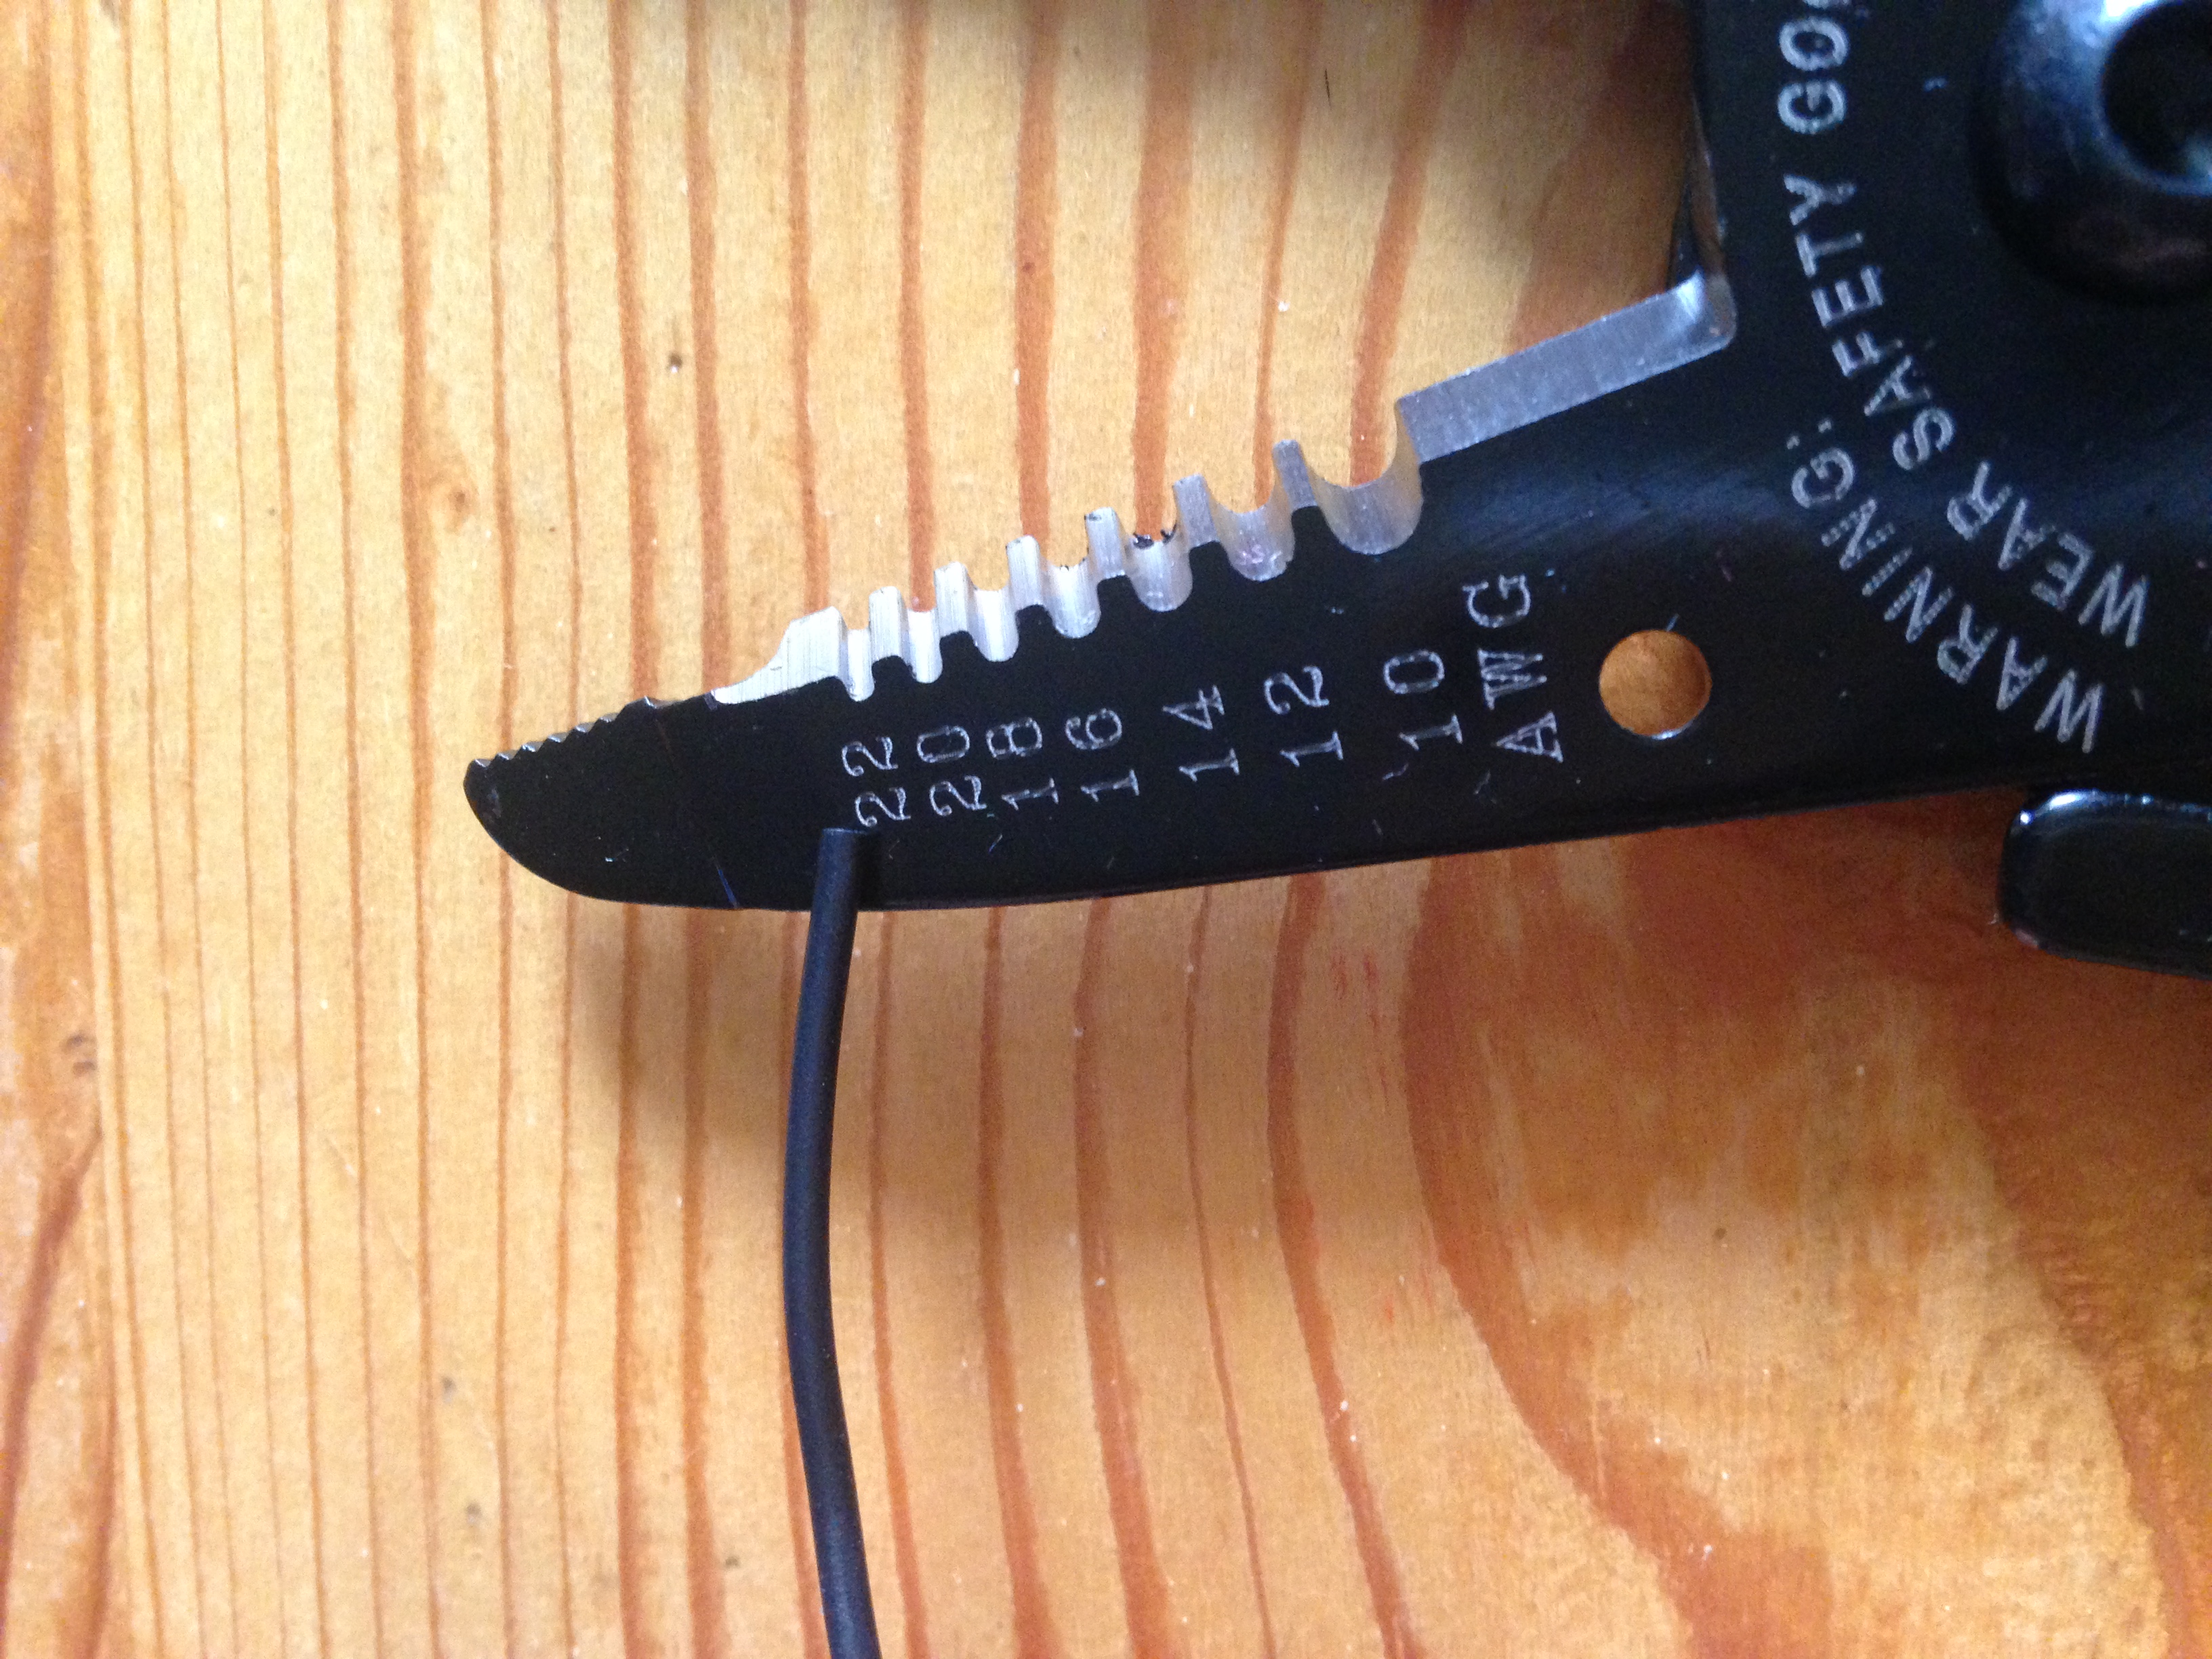
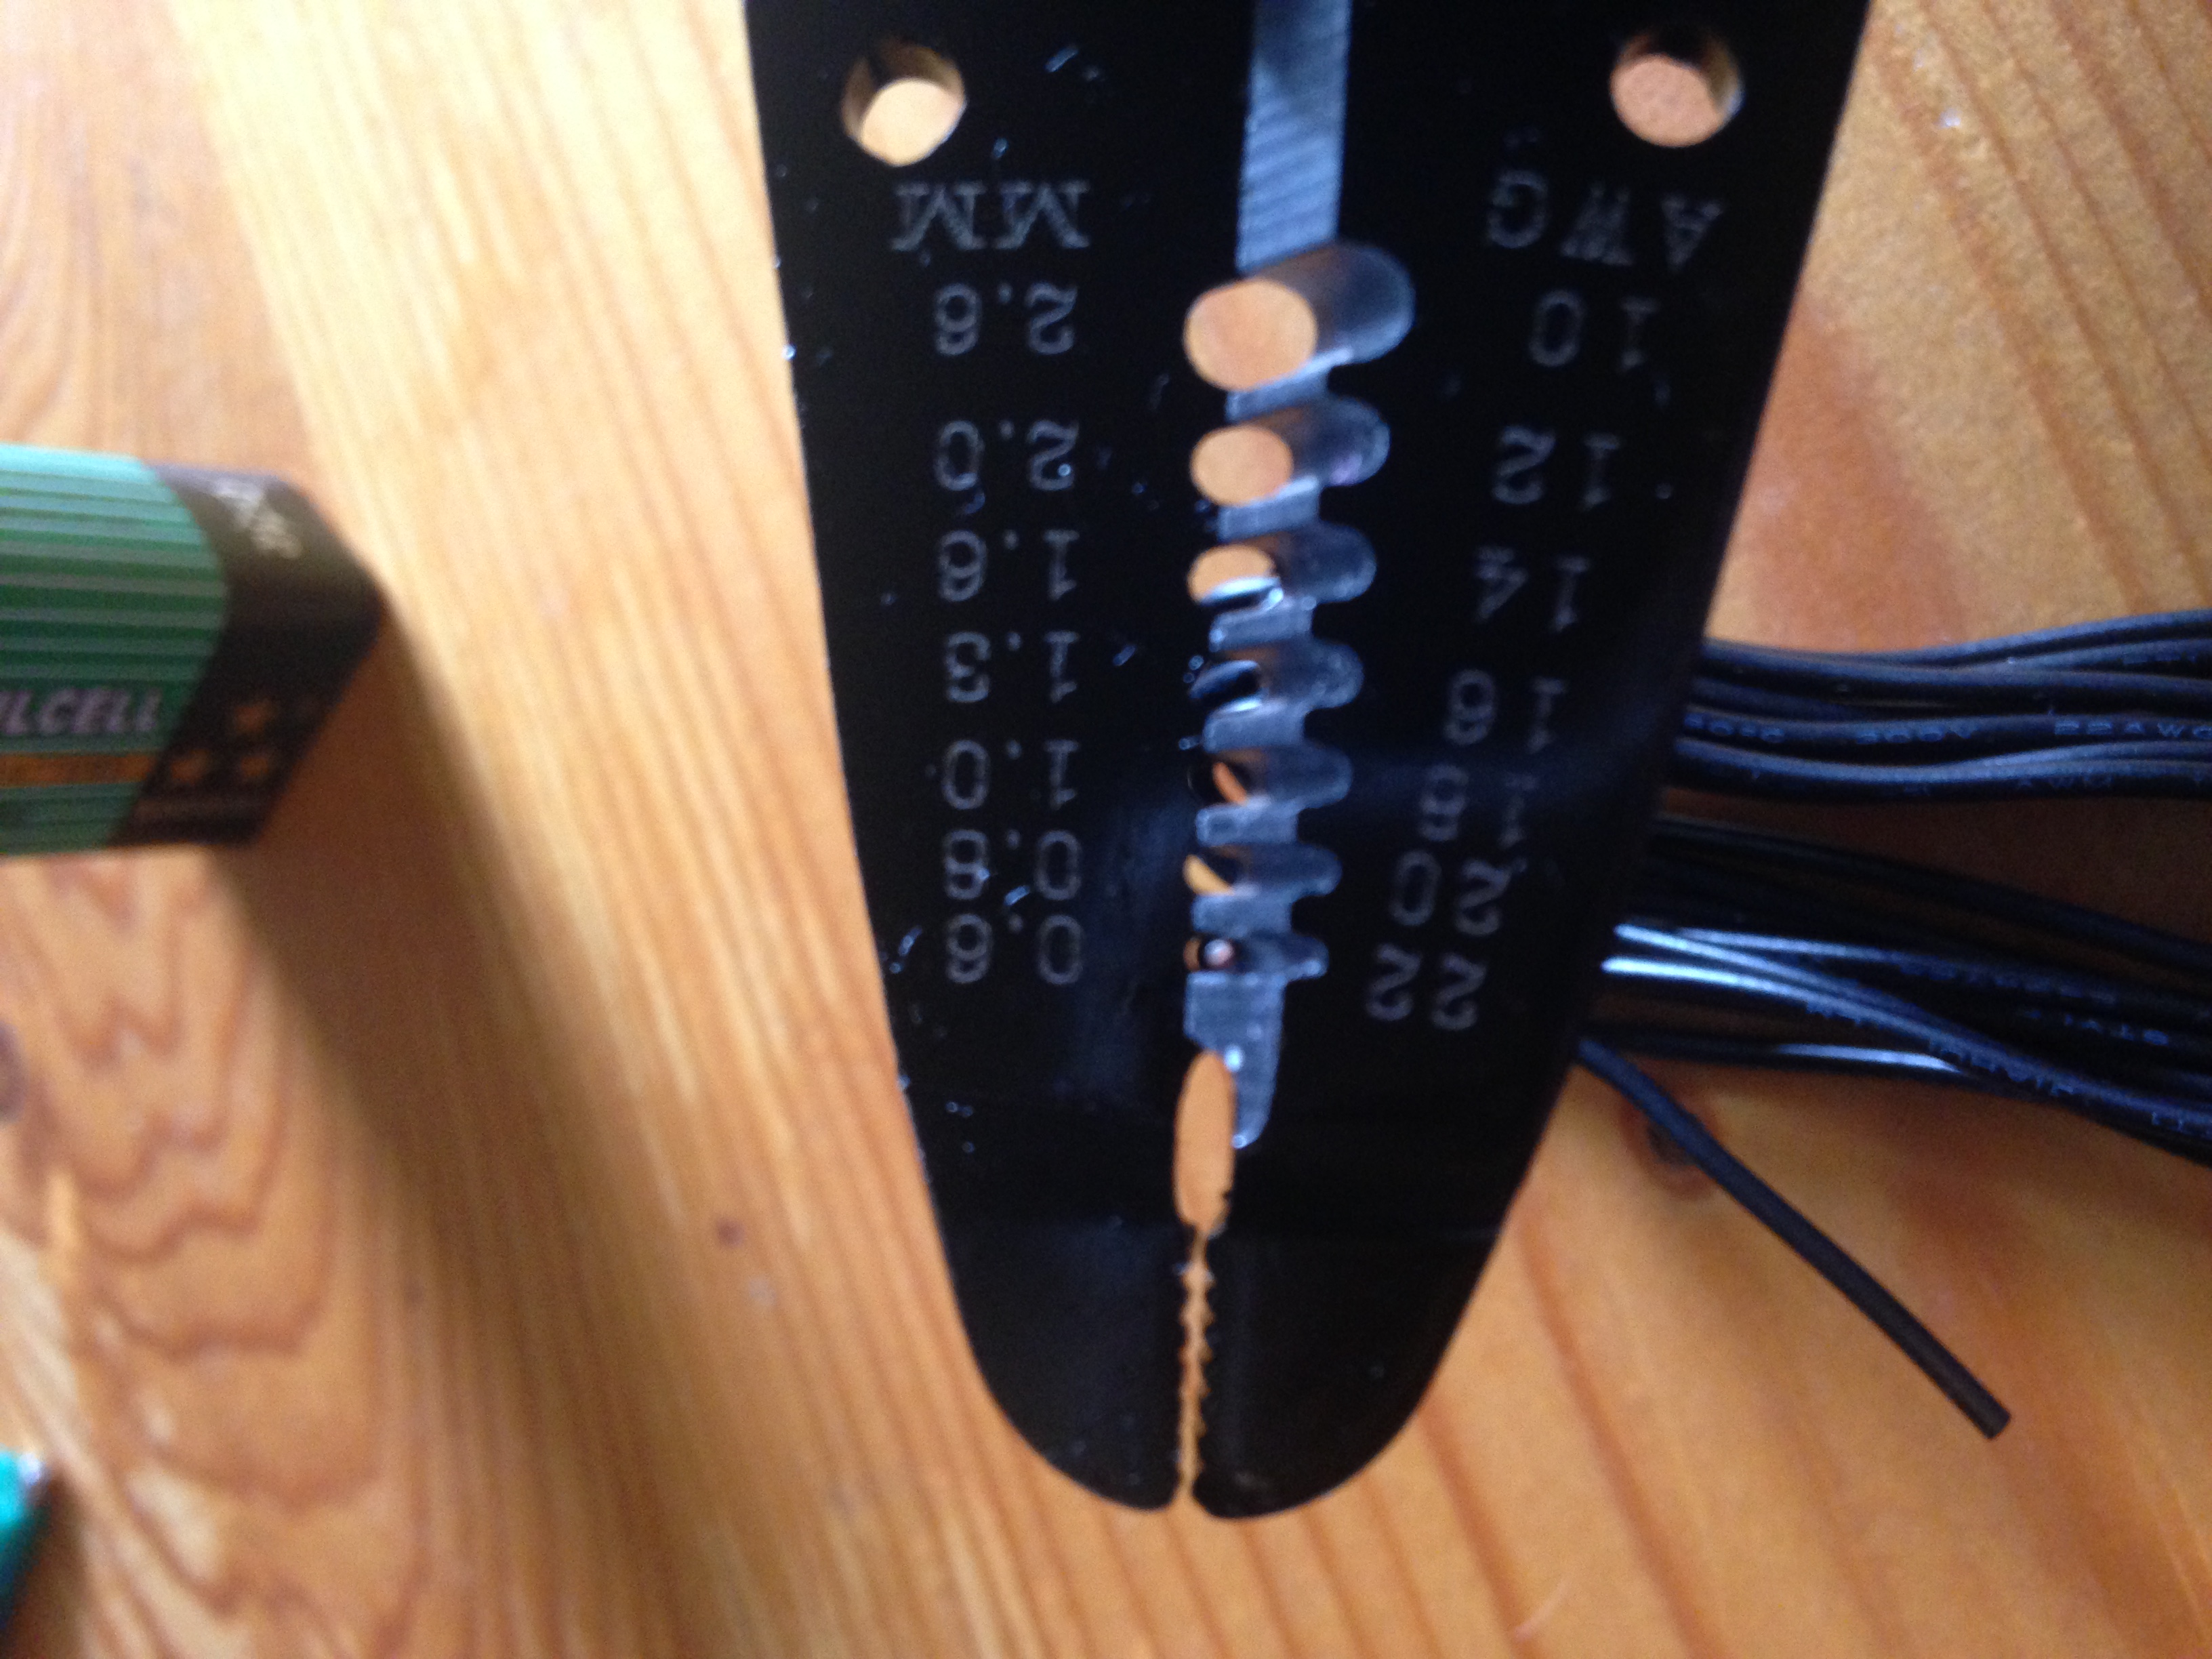

Determine the wire-gauge of your wire, then place the wire between the teeth of the wire stripper and pull the stripper away from the wire while your other hand holds the wire tightly, the insulation of the wire will slide off without damaging the conductor underneath.
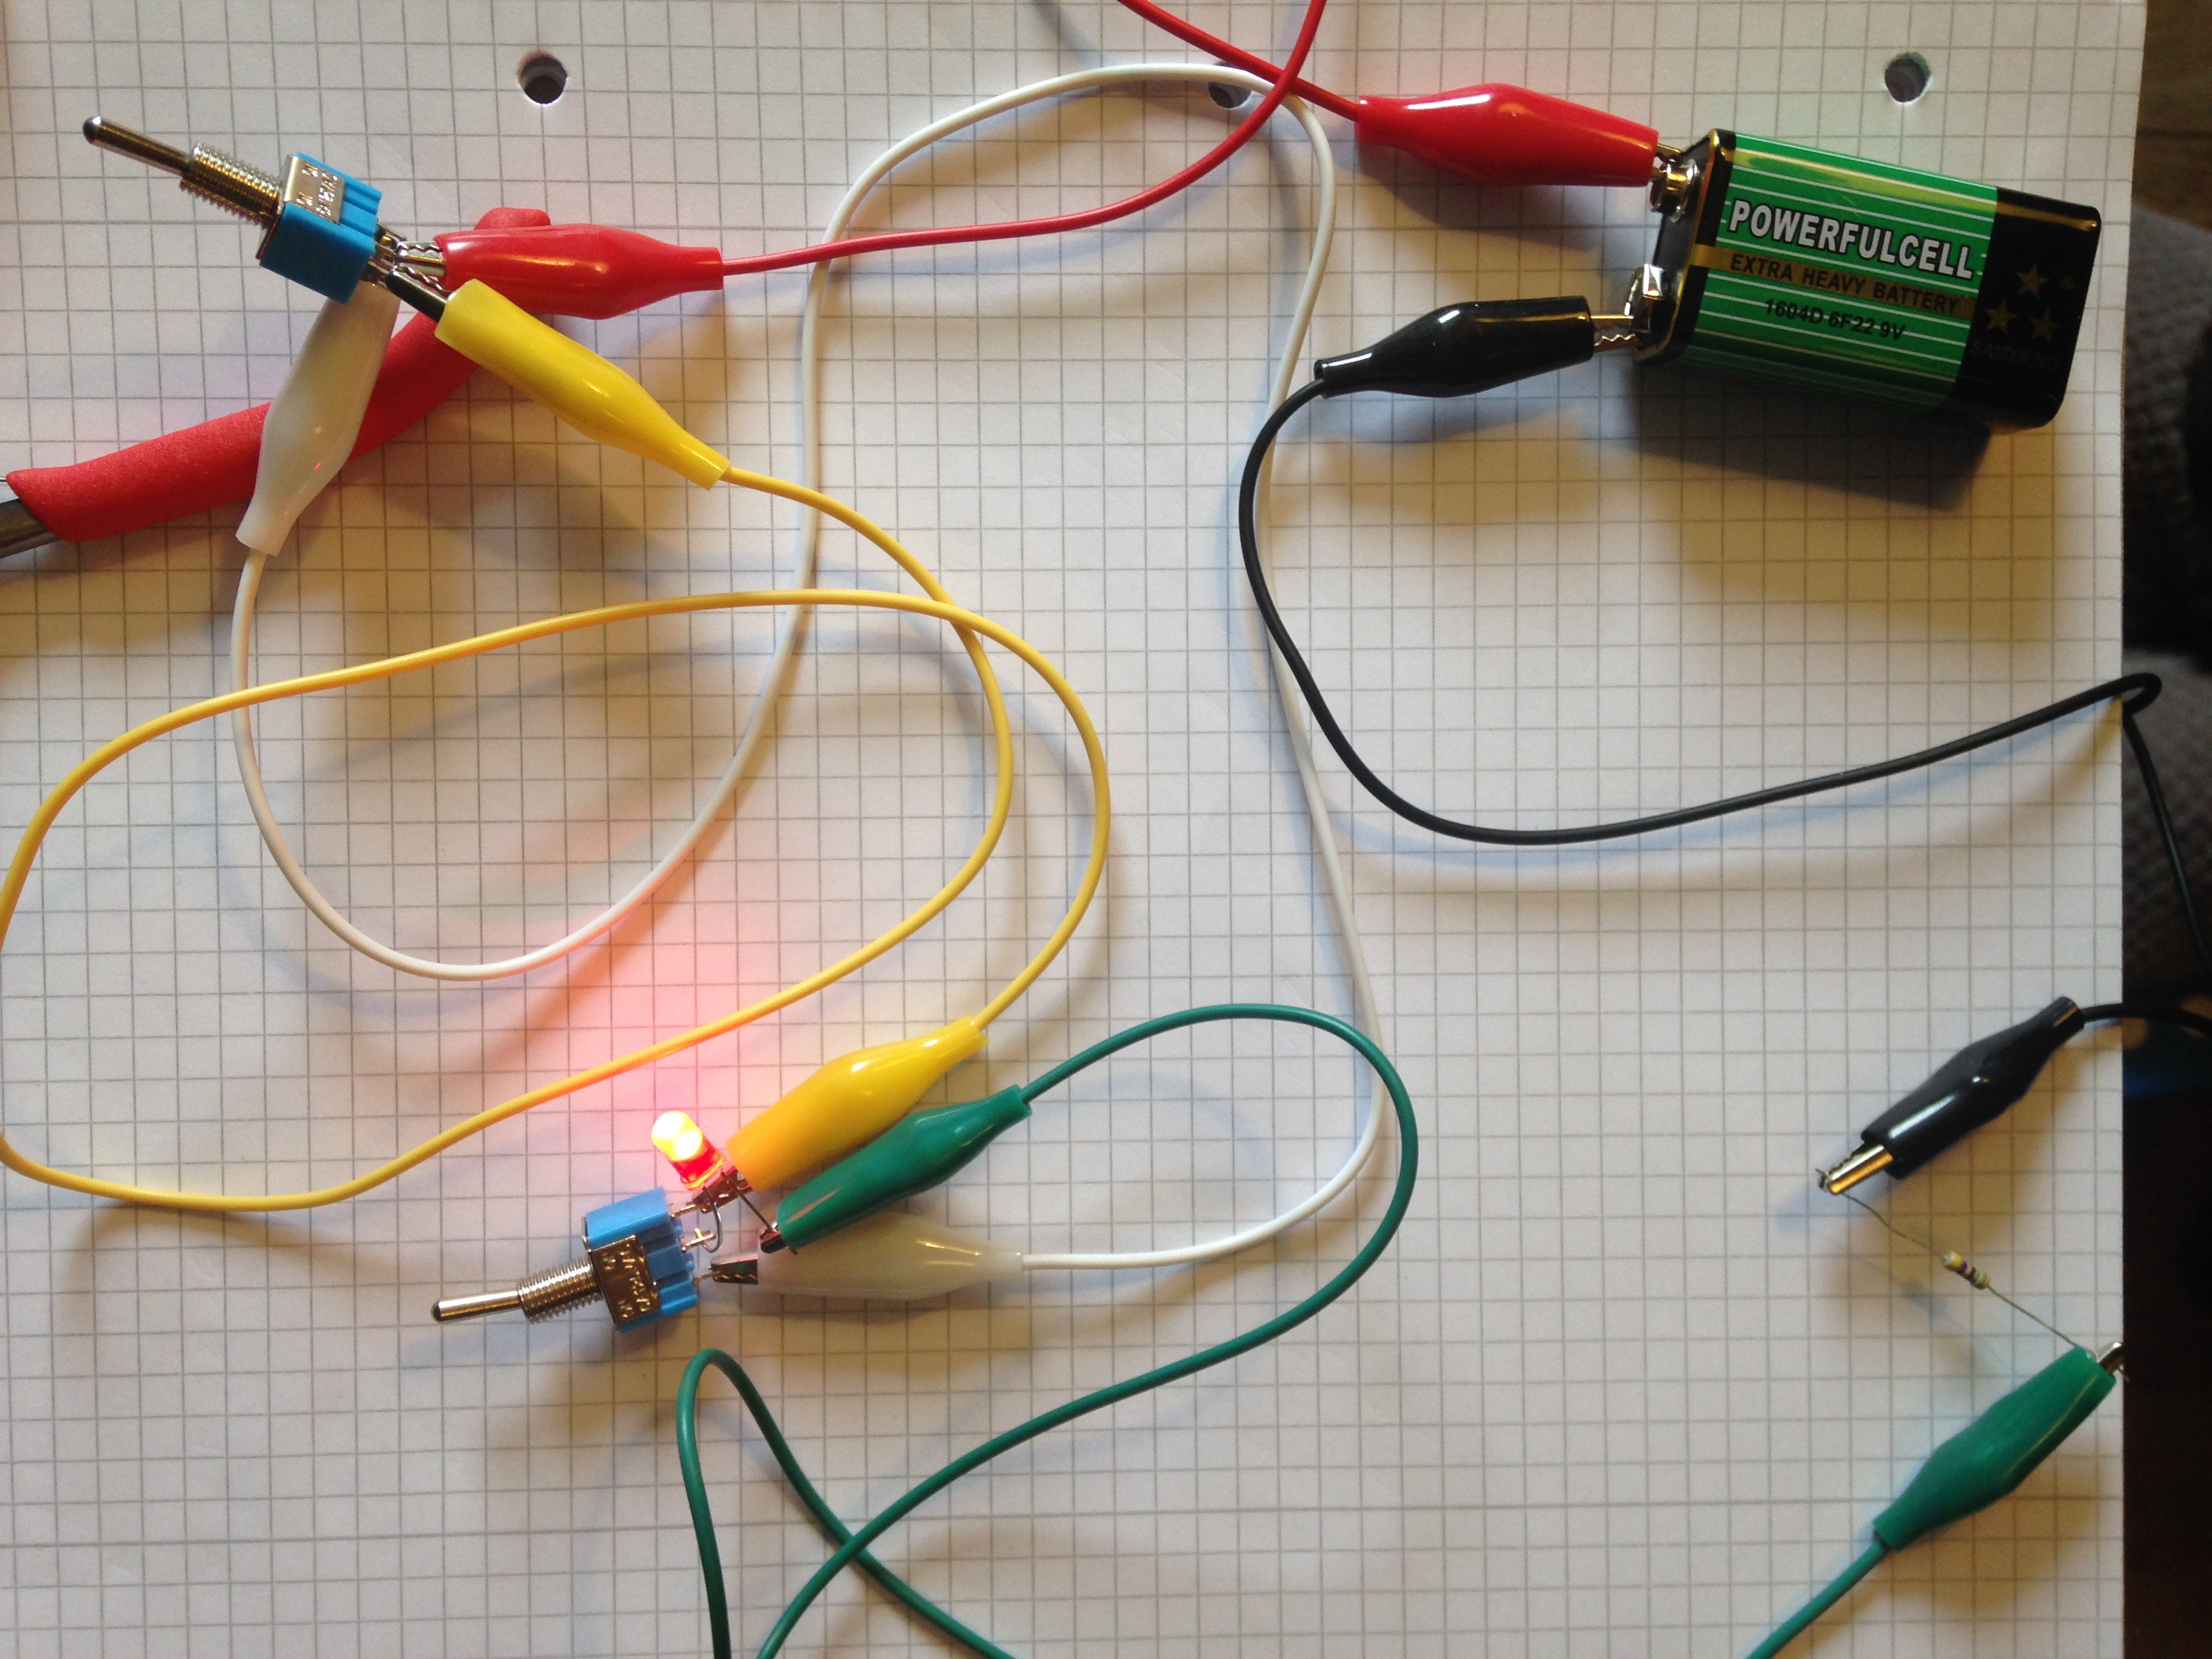
Gentlemen, switch on your LEDs!
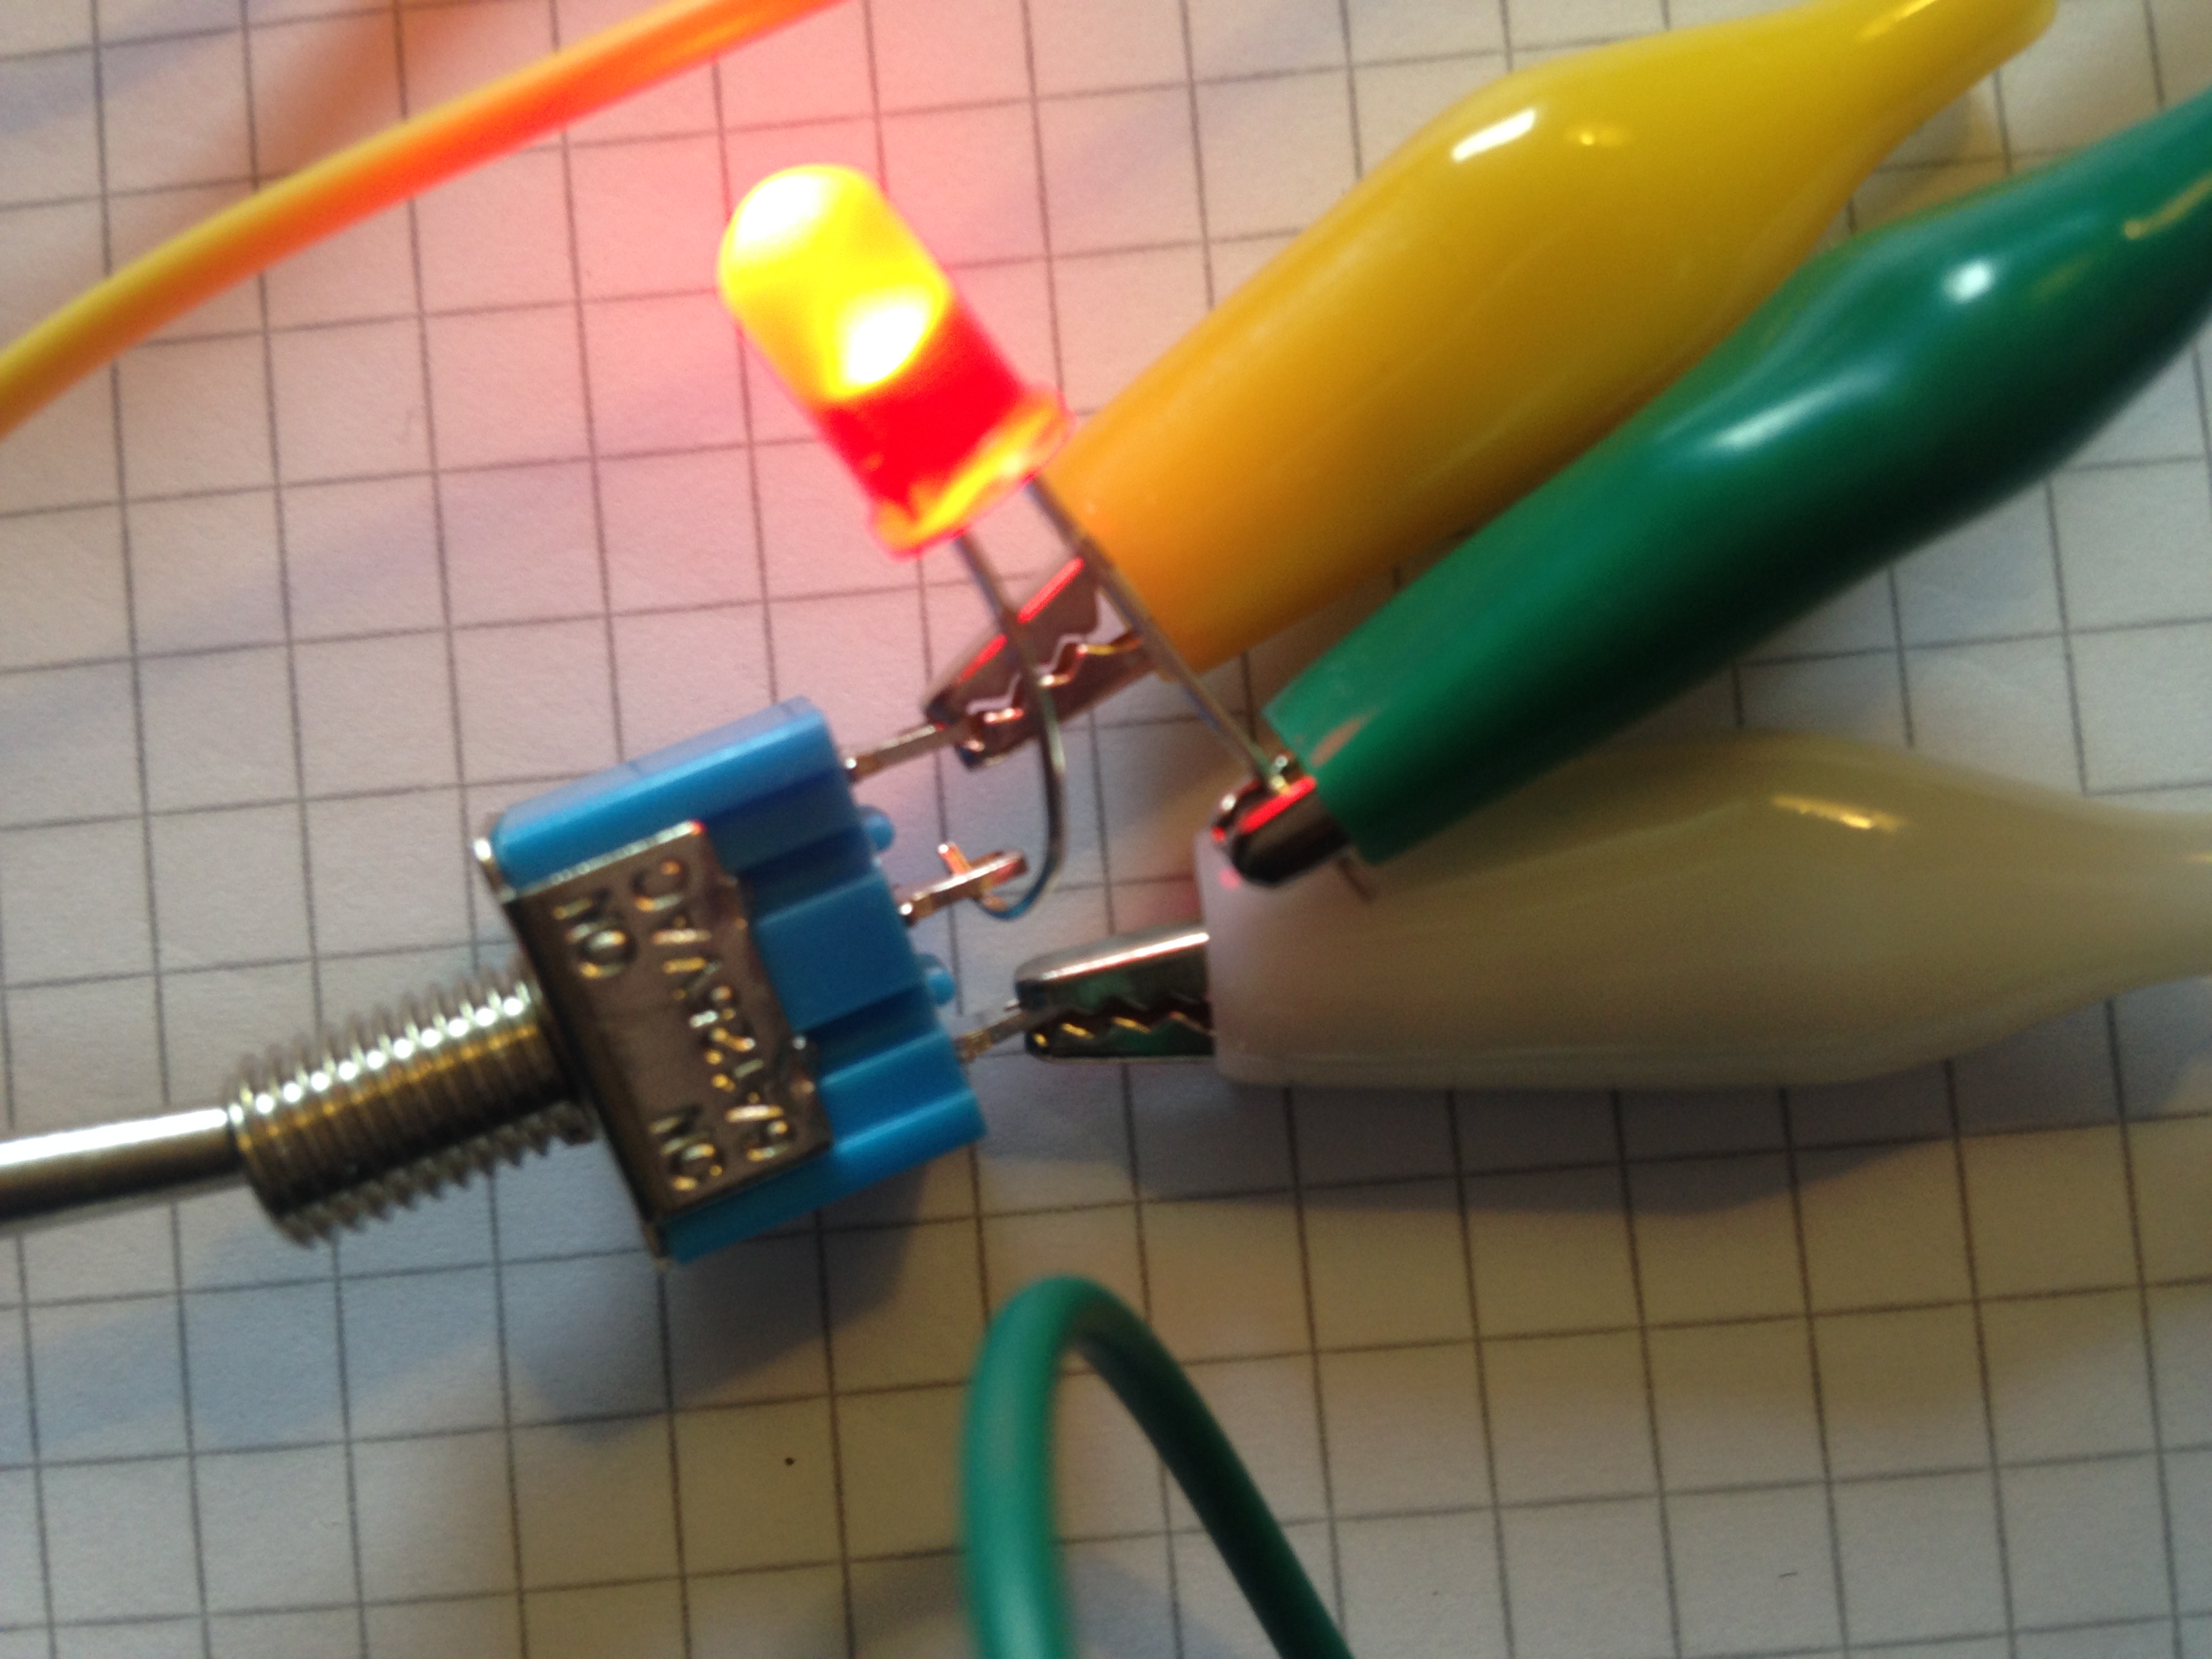
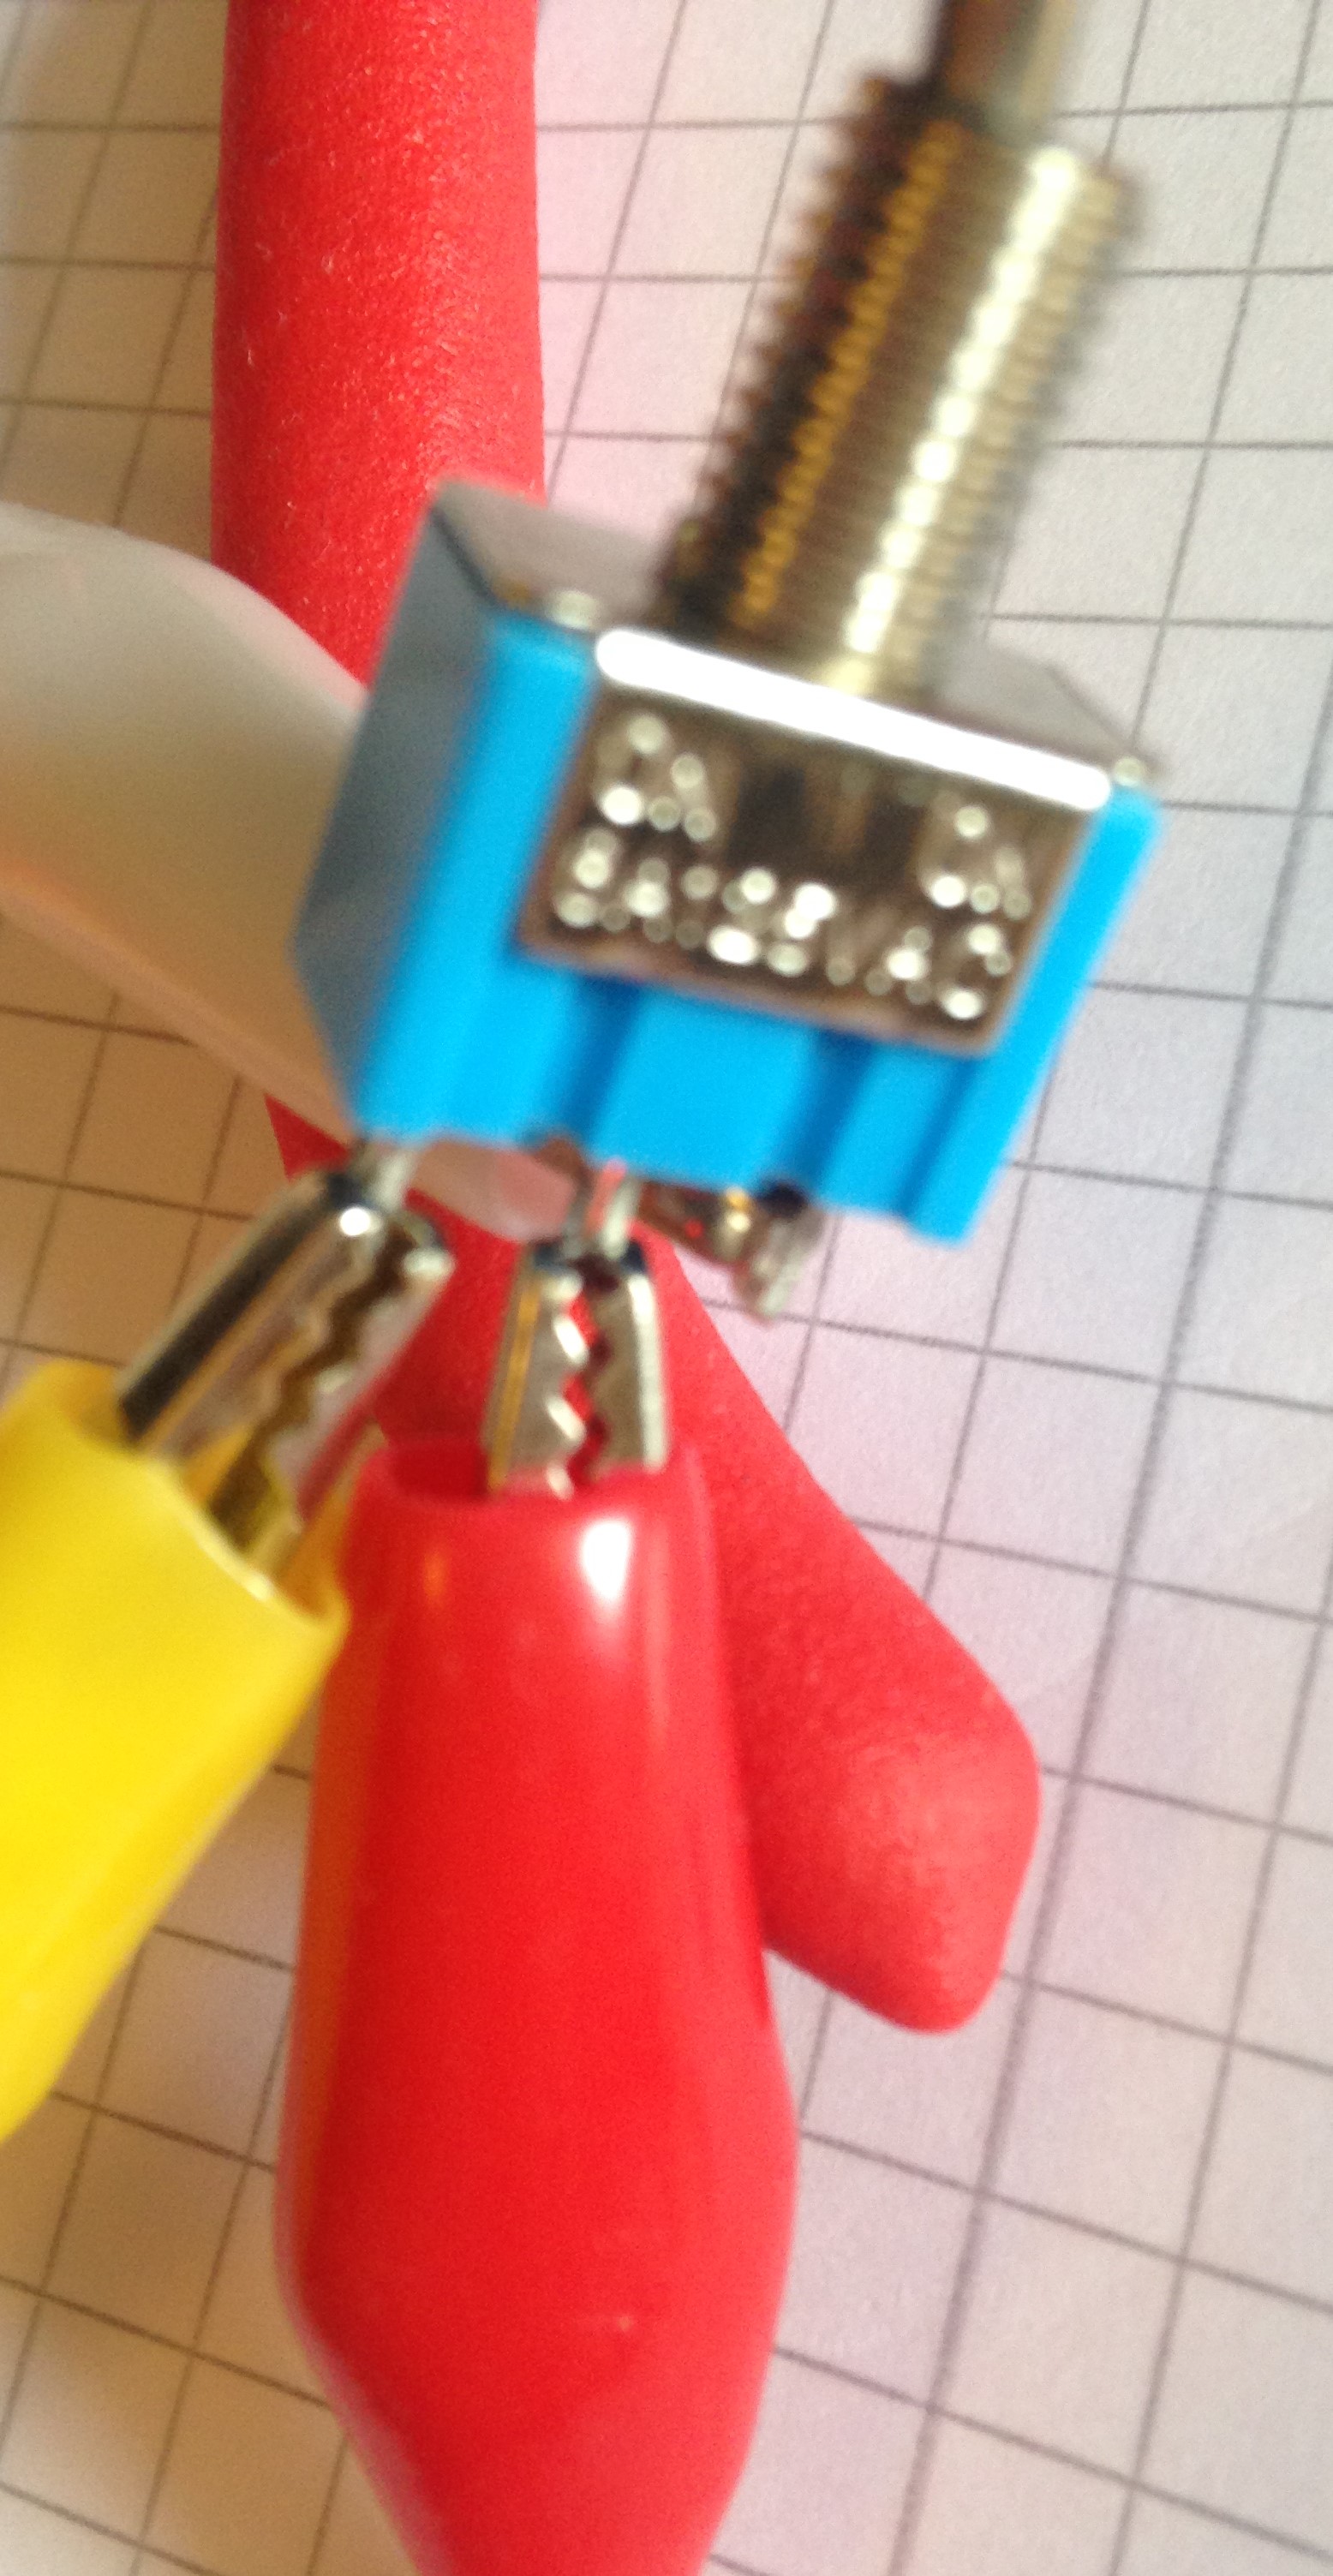
Alligator clips are bulky, so be very careful that they’re only touching the lug they’re supposed to be touching and not nearby lugs or alligator clips (I’m only talking about the metallic clips, of course, not the plastic boots). If a metallic clip touches another clip or lug, you’d creating an extra connection, which means the results of the experiment won’t reflect the way a properly connected switch works, which is the goal of the experiment.
Observation: With the current setup, if the LED is on, toggling either of the switches’ poles will turn the LED off and vice-versa.
But, why is this so?
This question takes us to the next section of the experiment where we’ll learn about what’s going on inside our switches.
* Checking Continuity

Set your meter’s dial to measure continuity
If you’re unsure about how to measure continuity with your multimeter, read your multimeter’s manual. The EXTECH’s EX330 requires you to set you meter’s dial to measure continuity and then click the MODE button several times until you see the continuity symbol on the multimeter’s screen.
Now all you need to do is touch a different terminal with each of the probes to see if they’re connected.

|
Toggle pointing left |
|
| Terminals 1 and 2 |
No conductivity |
| Terminals 1 and 3 |
No conductivity |
| Terminals 2 and 3 |
Conductivity |
|
Toggle pointing right |
|
| Terminals 1 and 2 |
Conductivity |
| Terminals 1 and 3 |
No Conductivity |
| Terminals 2 and 3 |
No Conductivity |
Read carefully through the theory presented in the Introducing Schematics and following sections of the experiment and compare our results from the functioning of a single switch to the schematics showing our previously assembled circuit.

Inside a SPDT switch
Now that you know which terminals are connected together when the toggle is pointing to either side, look at Figure 2-37 of the book and study how the circuit is altered whenever you toggle either of the switches’ poles.