Long, long time ago, in the time before sliced bread, people would use boards of wood to slice bread on. Later, these “bread boards” would be used to build circuits on.
Worry not! nowadays, prototyping boards are widely available.
* A Beginner’s Board
Test circuit using flexible jumper wires Circuit with “hand-made” jumpers
* Making Jumpers
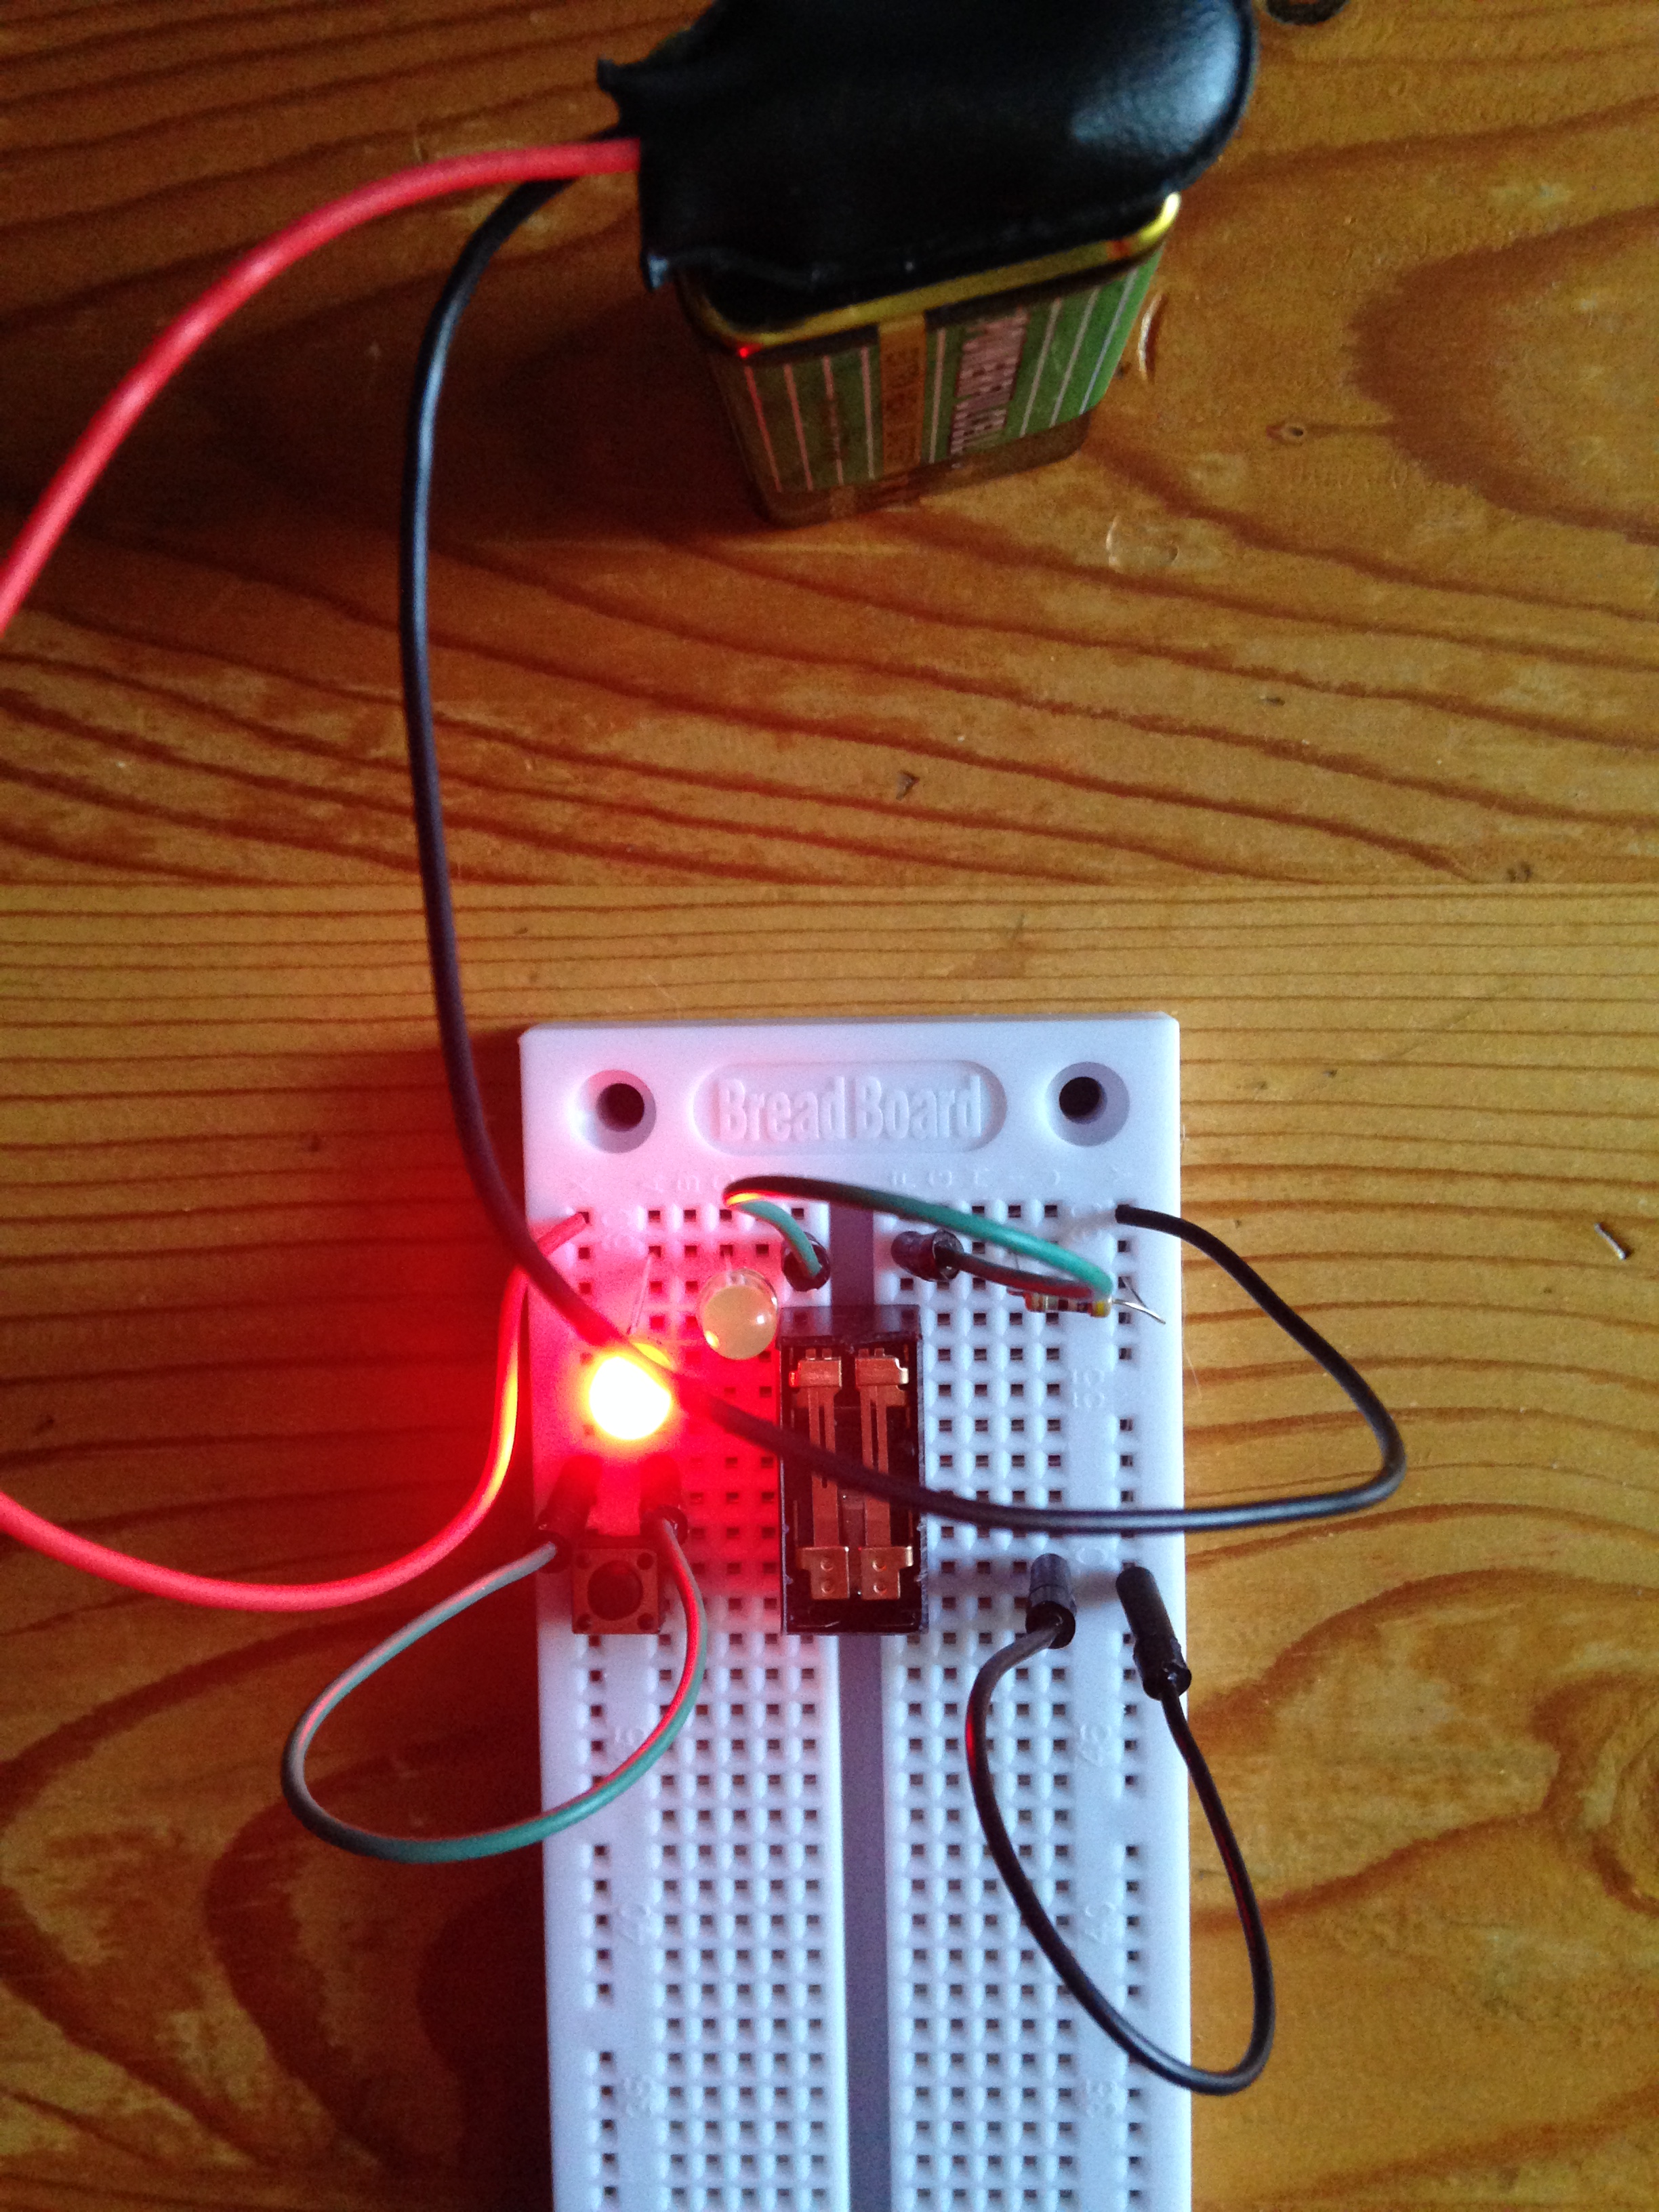
As you can see in the photos above, I first built the circuit shown in Fig 2-62 of the book with flexible jumper wires. This circuit is simple enough that I was still able to easily see the connections between the components. The book explains in greater depth the advantages of using your own hand-made jumper wires in the “Jumpers” subsection from the “Necessary Items for Chapter 2” section.
If you want to see pictures showing how to strip wire, check out Experiment 6: Very Simple Switching
Tip: When making your own jumpers, always make them a bit longer than needed. You can always make jumpers shorter, but never longer, well…unless you solder them together, but that’s another story (see Chapter 3 of the book). Also, the extra length helps make them easier to pull out when you need to place them somewhere else.
Be sure to read and fully understand the “Inside the Board” section of the experiment before moving on with the experiment.
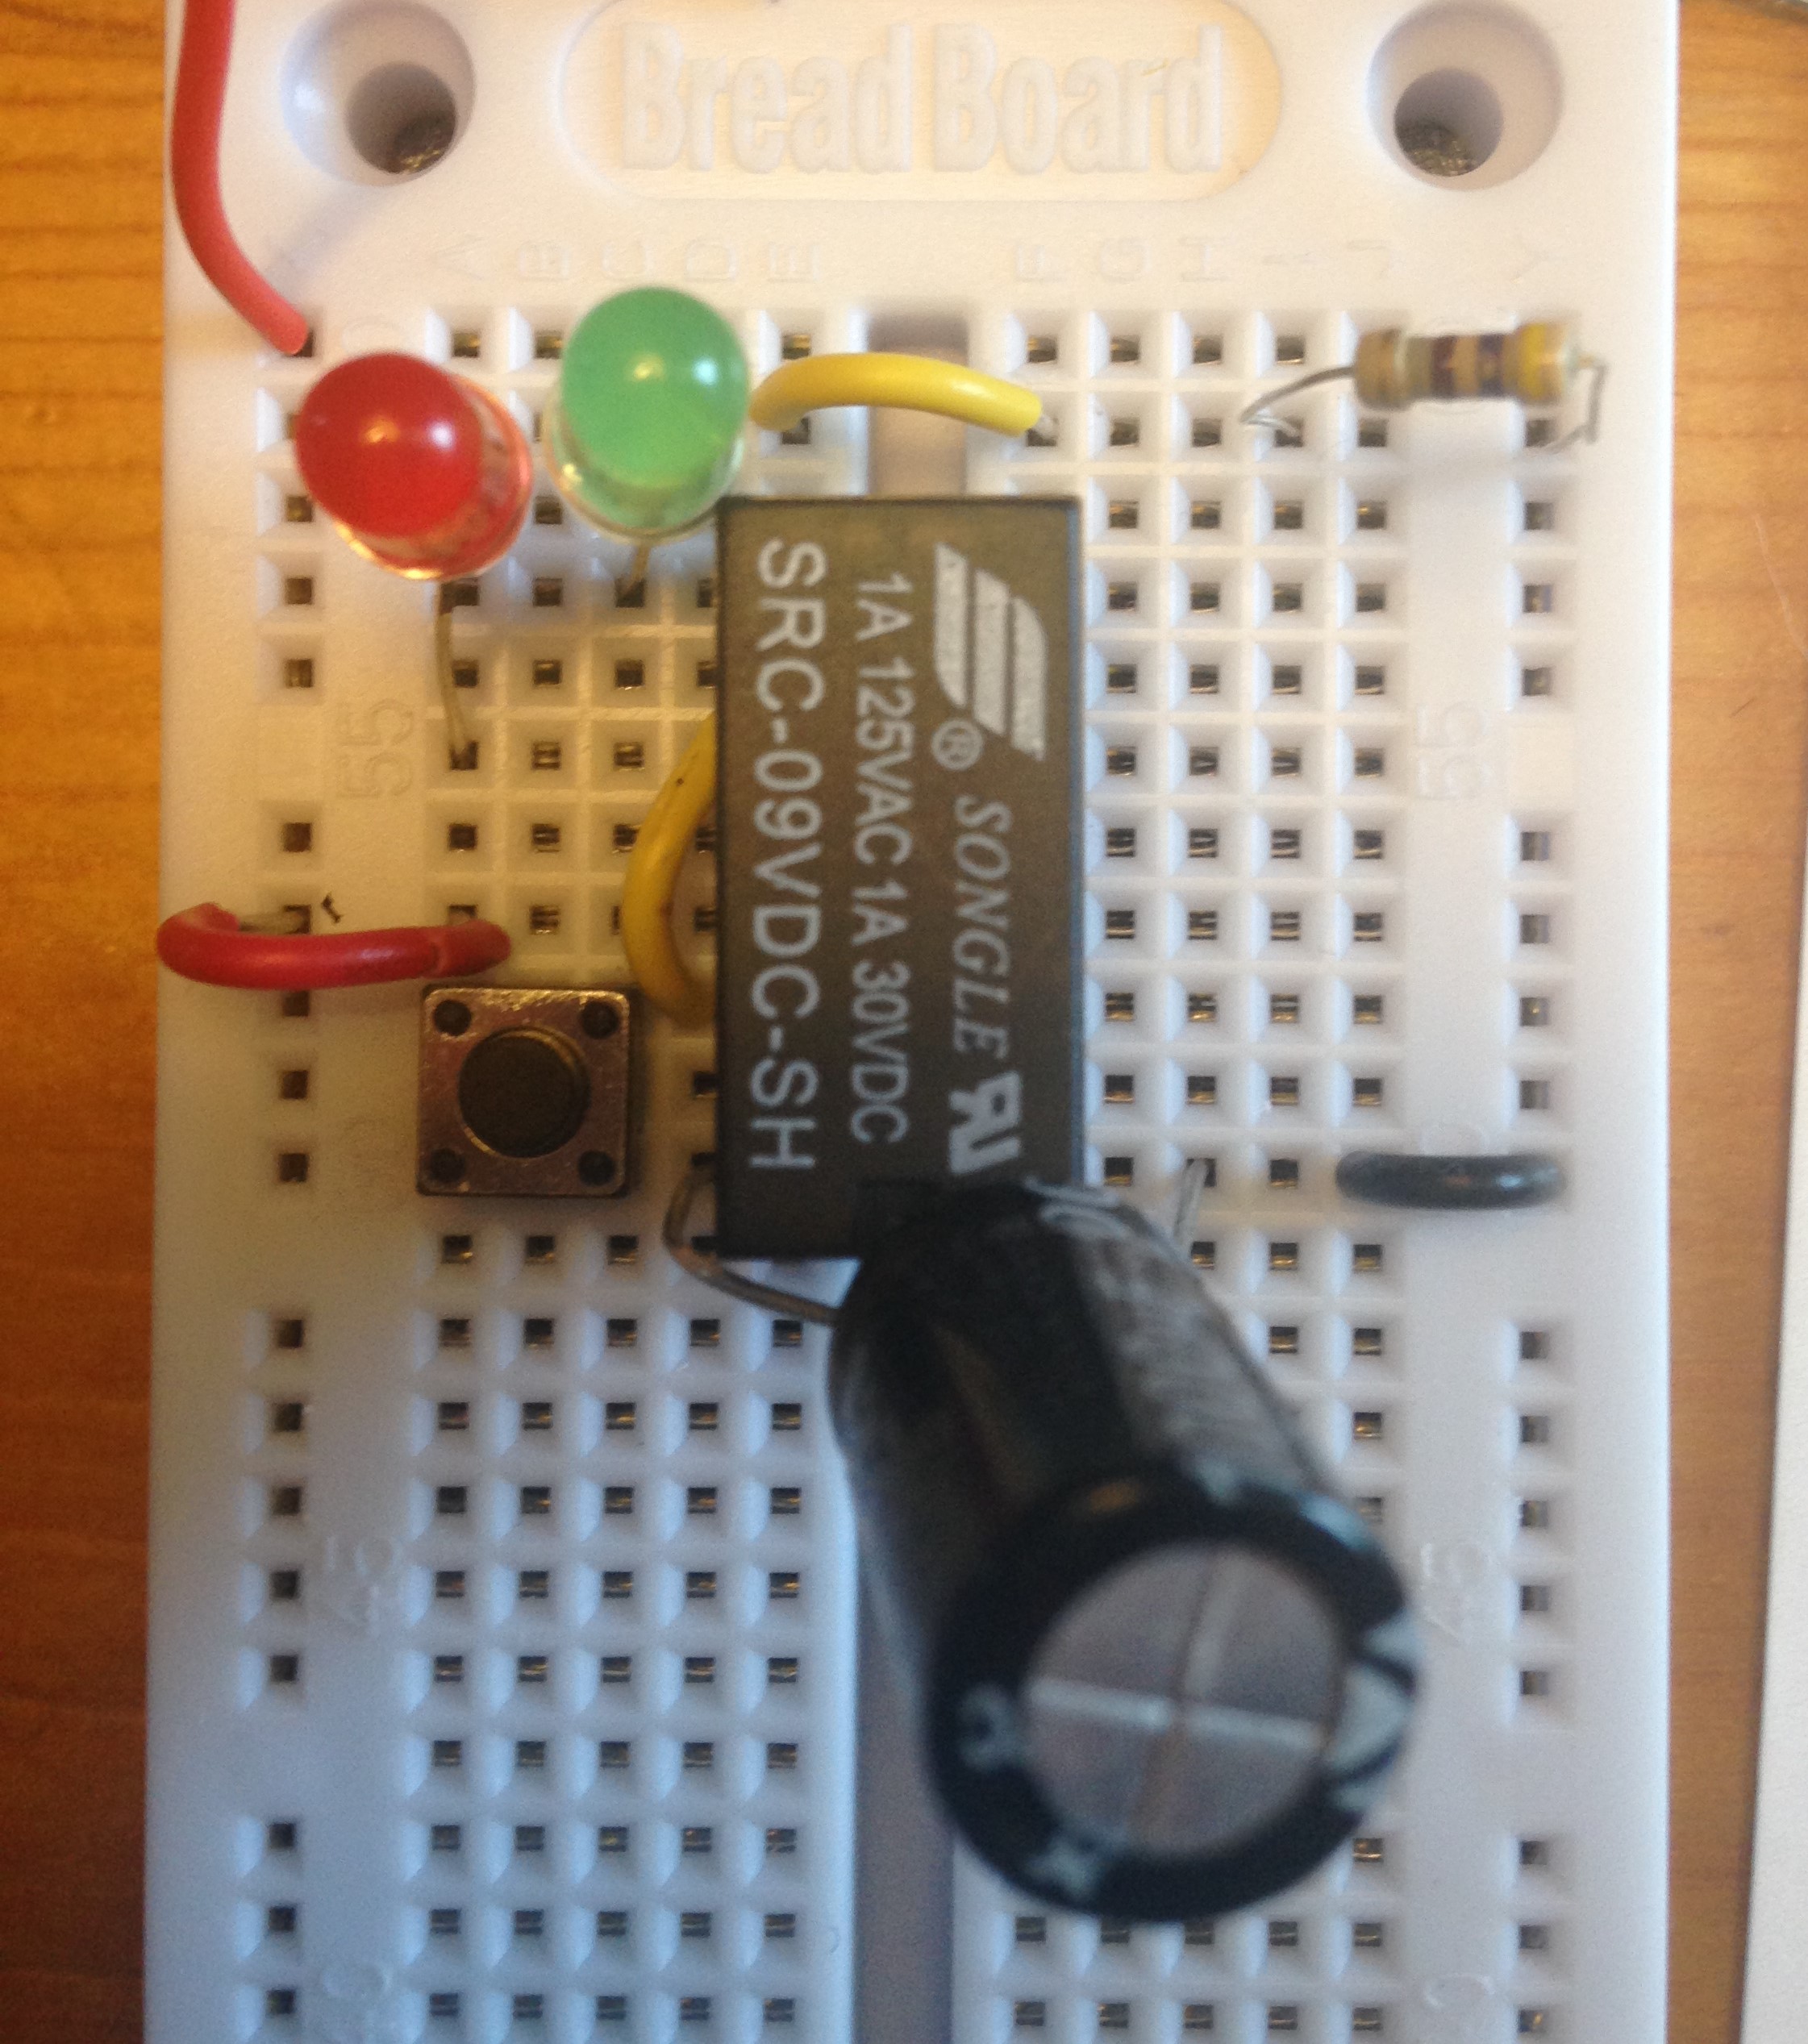
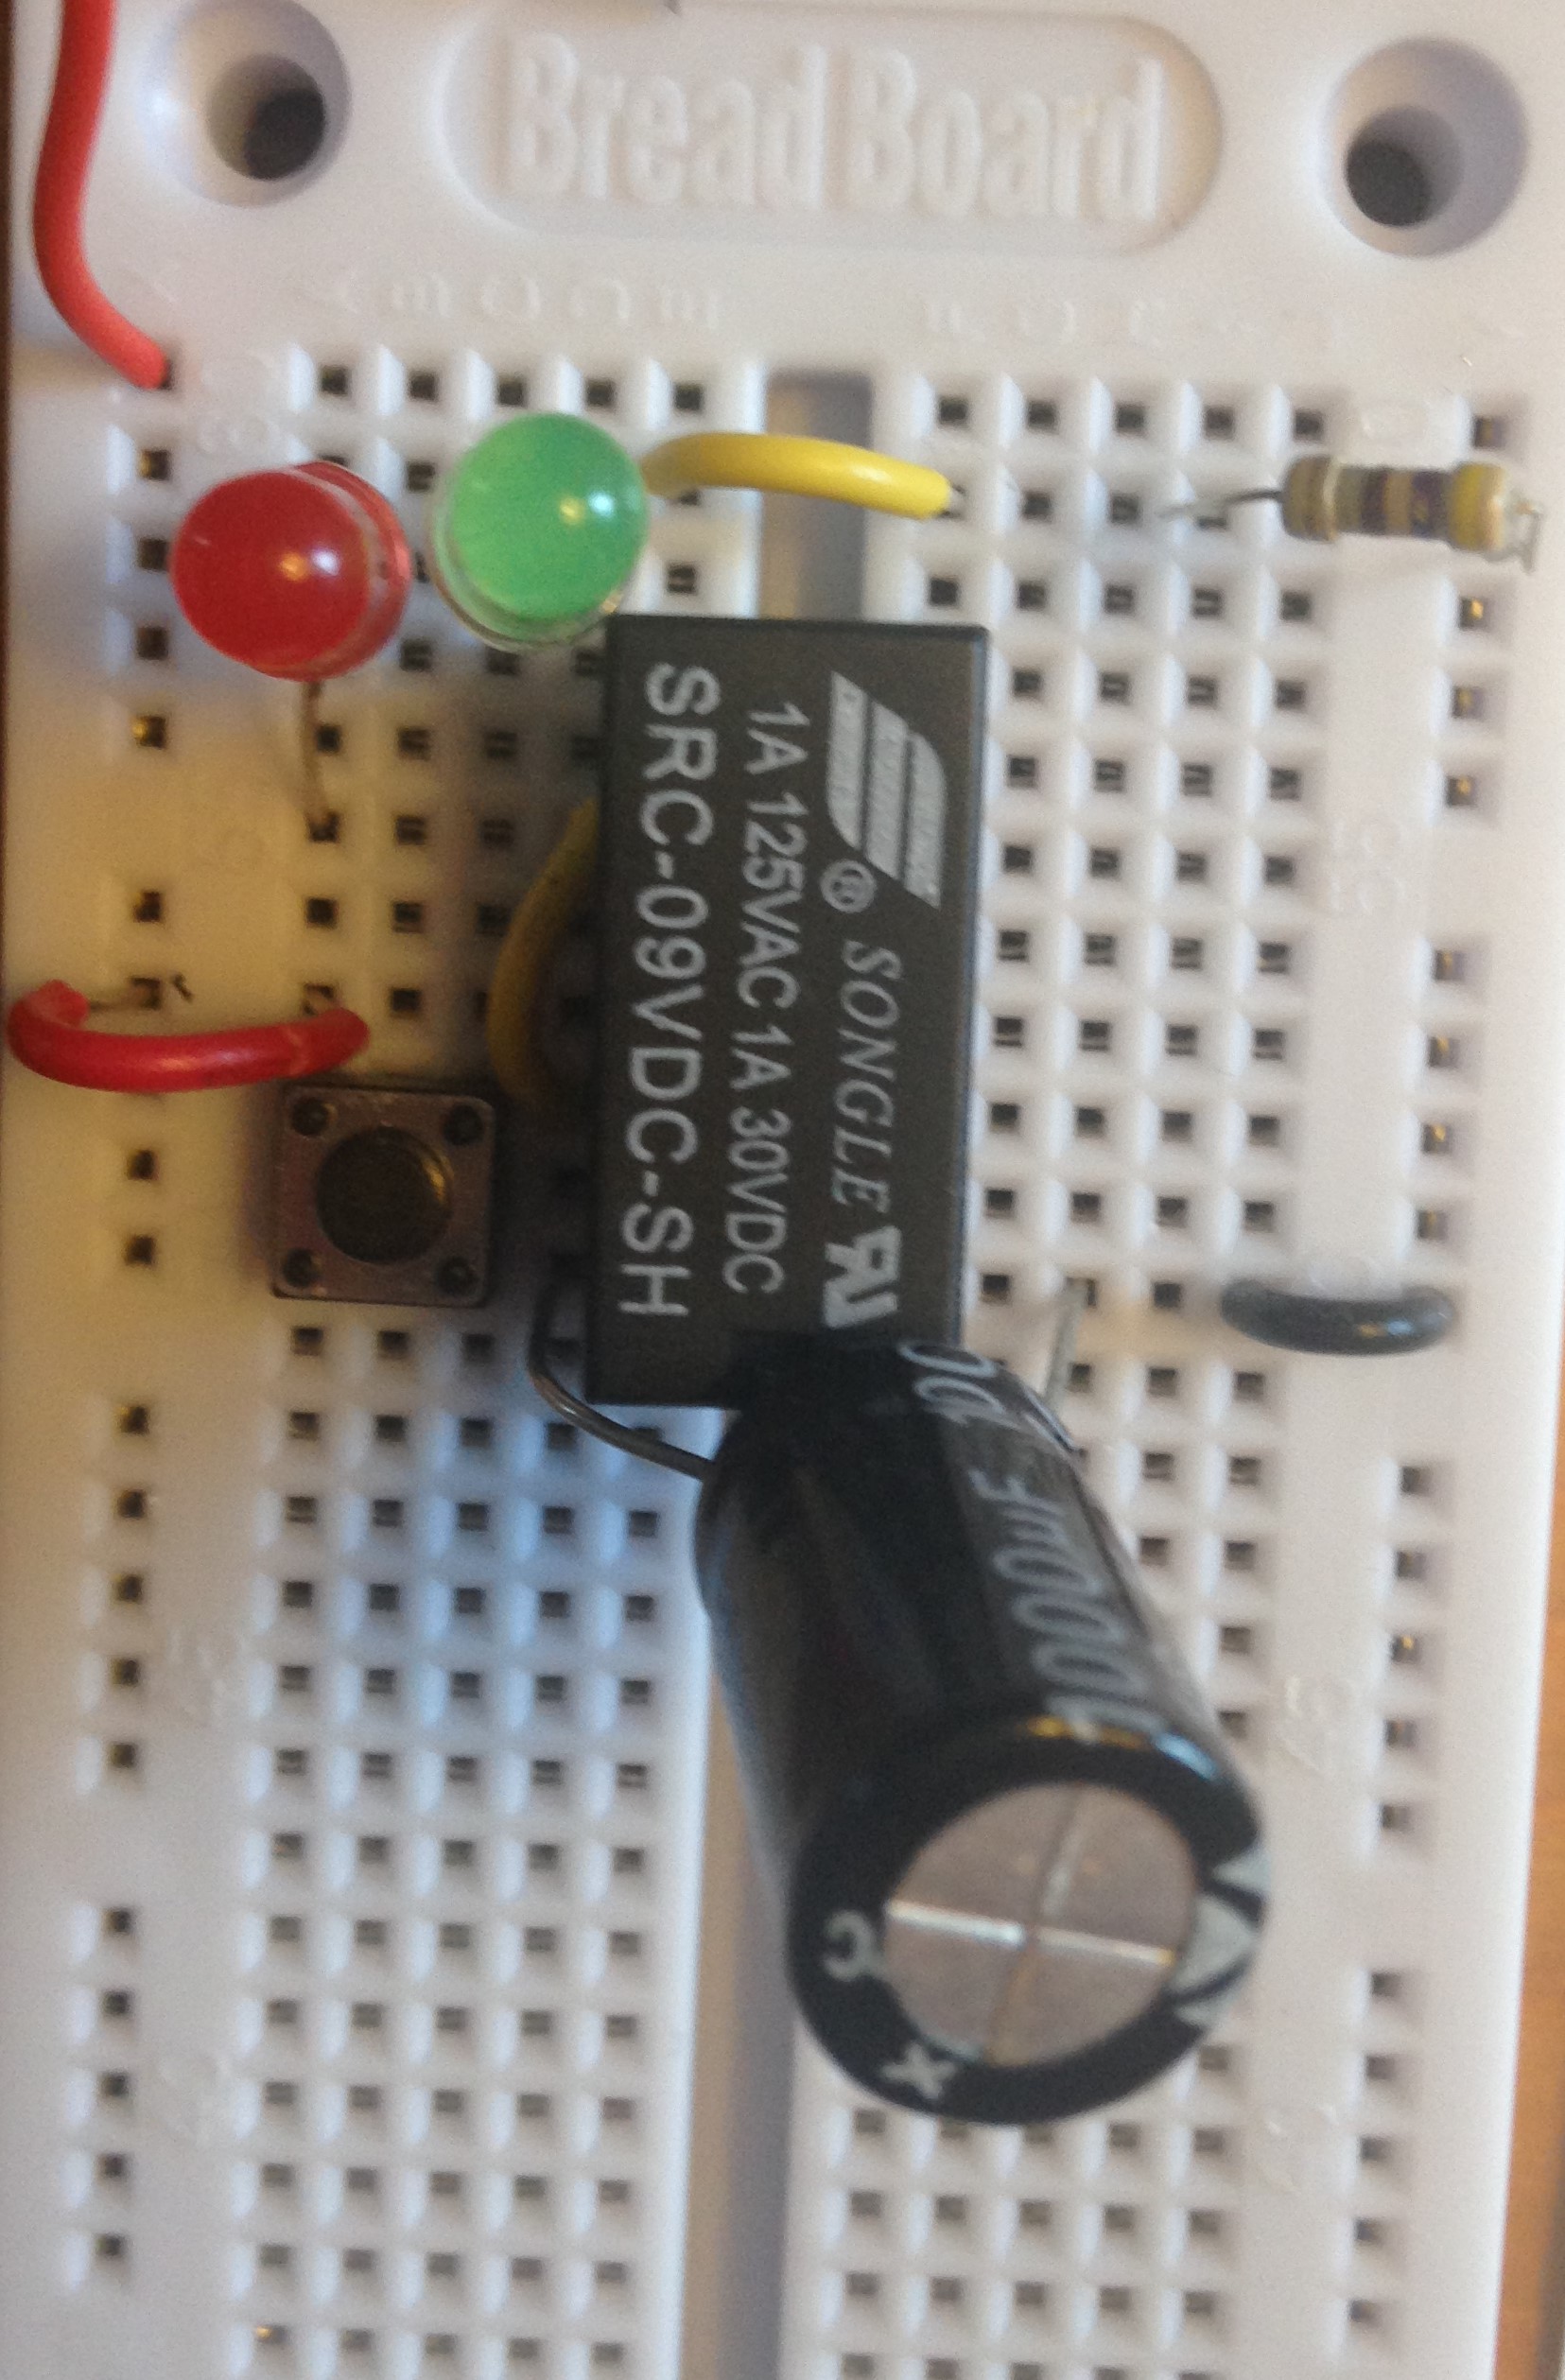
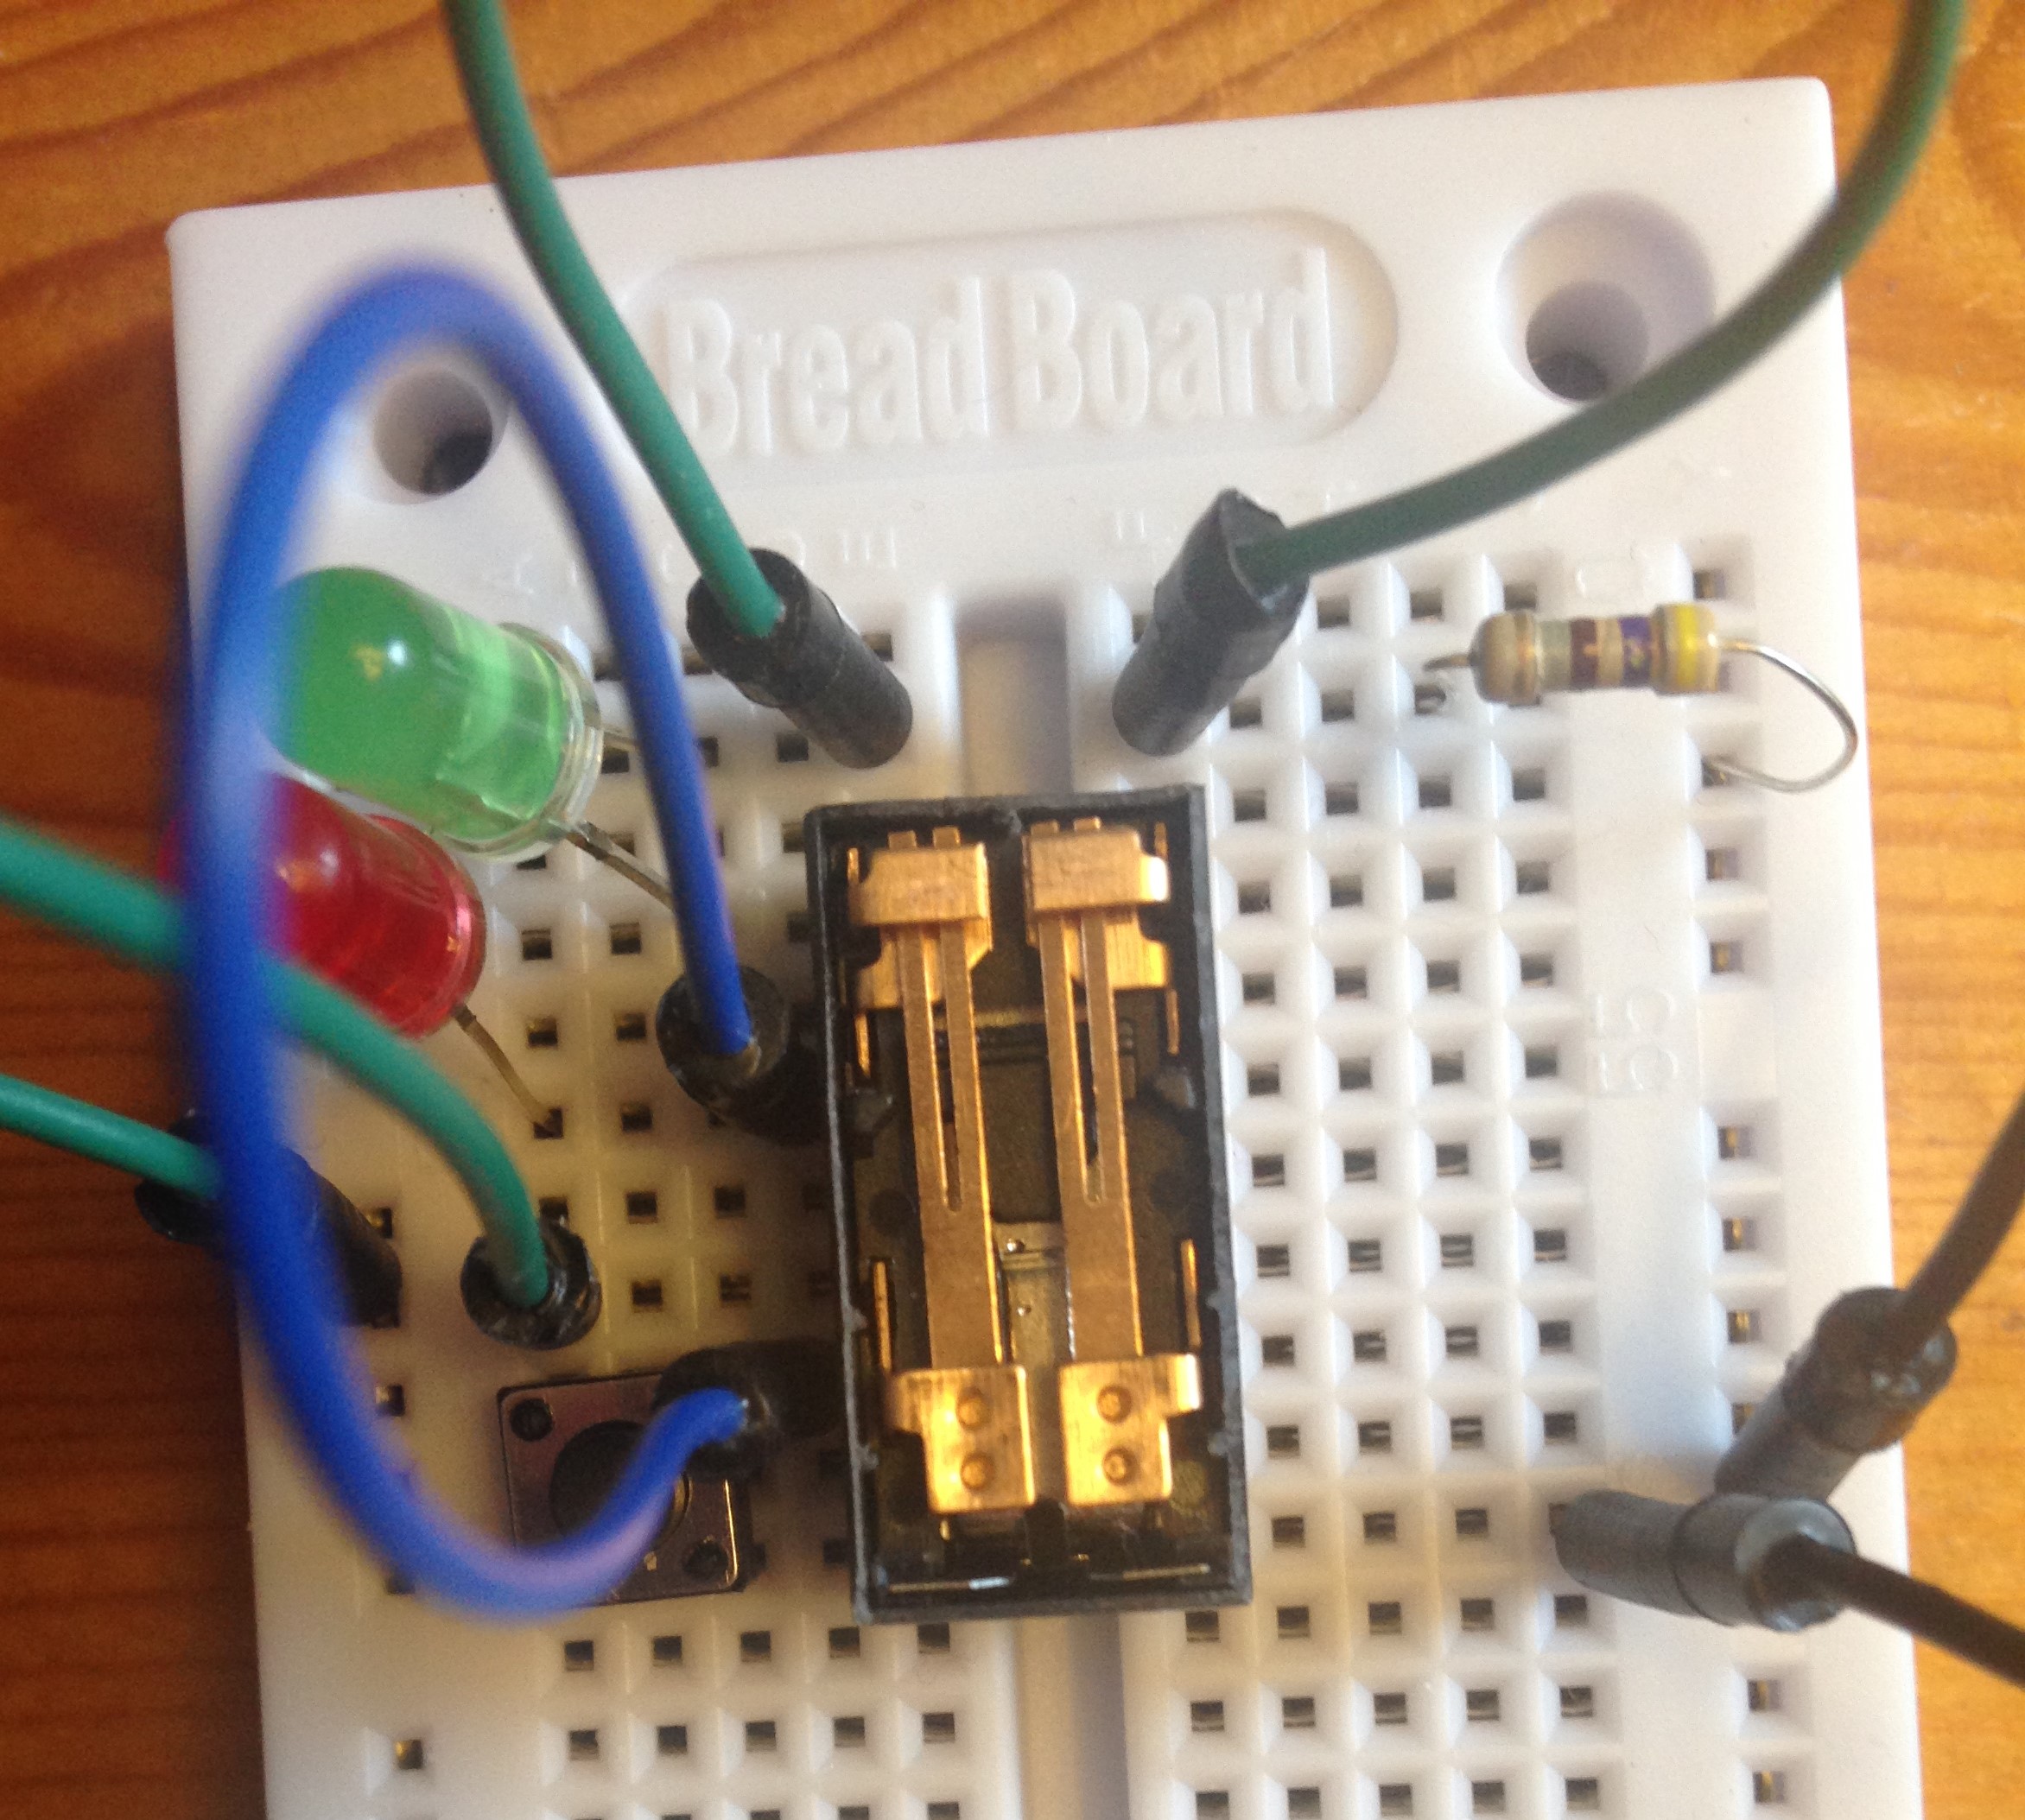
* Relay Circuit, Revealed
A schematic that corresponds with our previously assembled circuit is shown in this section (Figure 2-68). Be sure to understand what every symbol means as well as what’s going on in the circuit.
What path does the current take when the push-button is pressed (closed)?
What path does it take when the button is not being pressed (open)?
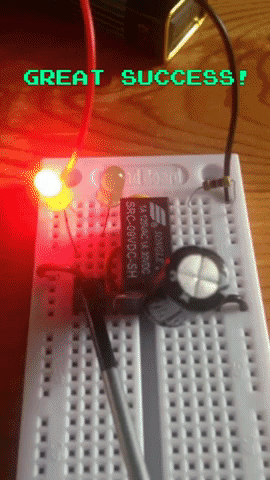
* Making it Buzz
Modify your circuit to match the one shown in Figure 2-70 of the book
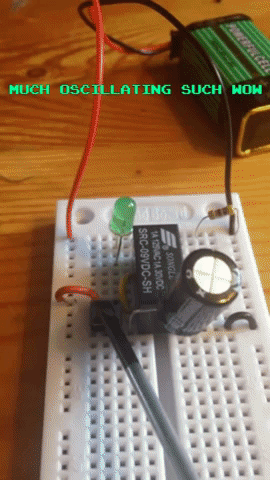
I used my previously opened relay to see if I could notice the oscillation when the button is pressed.
After making the relay buzz a couple of times…nothing happened. I even tested the relay again with both the first setup of this experiment and adding a capacitor but it just wouldn’t work. The relay would make no sound at all when the button was pressed.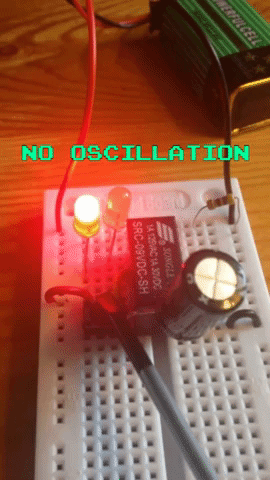
I followed the procedure explained in the “Fundamentals: Fault Tracing” section of the experiment and this revealed that the relay was the problem. It seems the poles got stuck after all that oscillating, this wasn’t hard to fix for the opened relay, for the unopened one, though, I’ll confess I simply waited it out, when I tried to use the relay the next day it was working well again.
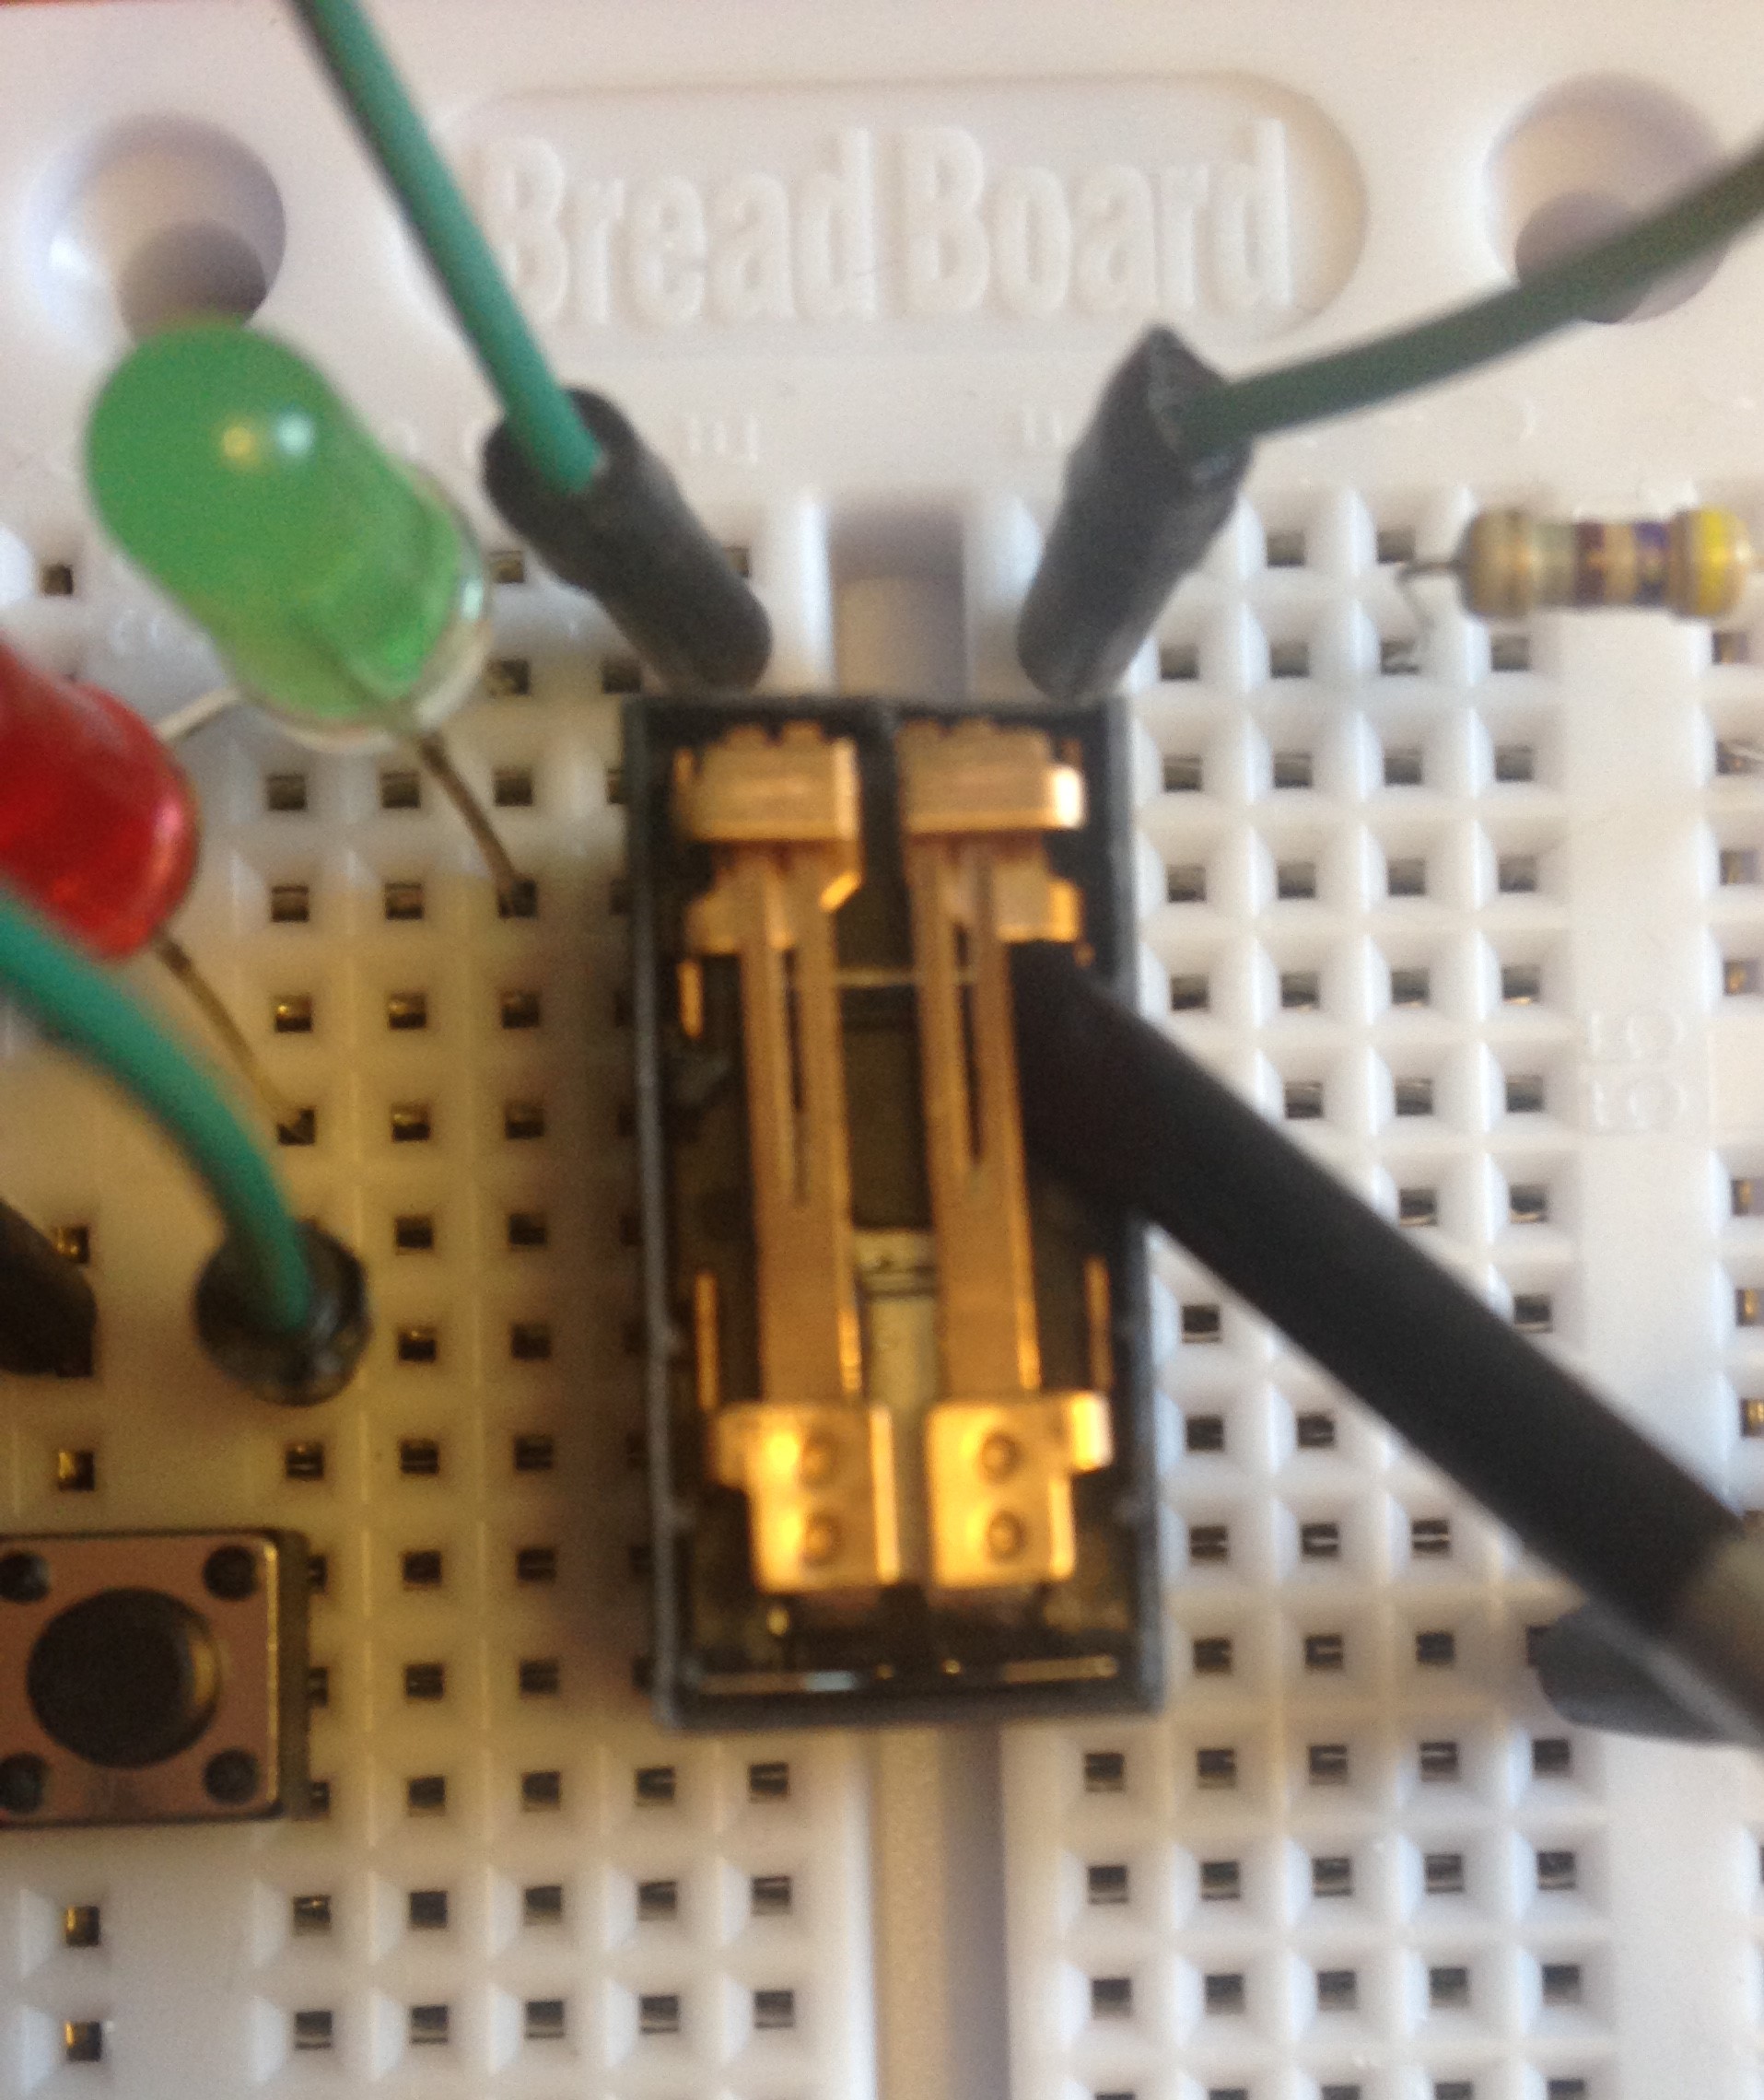
Gently getting the relay unstuck
*Adding Capacitance
Caution: Electrolytic capacitors are polar components. Connecting them the wrong way can cause them to explode. To learn more about this read the “Caution: Getting Zapped by Capacitance”, “Caution: Observe Capacitor Polarity!”, and “Fundamentals: Fault Tracing” sections of this experiment.
If you would like to actually see a capacitor explode, you can check out William Osman’s awesome video which shows this in slow-mo.
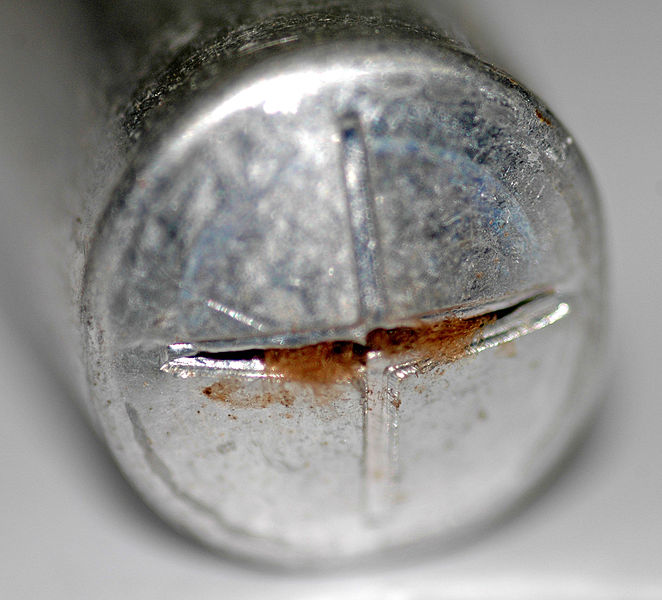

Electrolytic capacitors have a relief vent that lets gases and the dielectric escape in case of failure.
If you notice the vent in your capacitor is no longer flat (closed), disconnect it from the power supply, wait until it’s cool enough to touch and remove it from the circuit.
ONLY YOU can prevent forest fires… caused by inadequately used electrolytic capacitors
Back to the experiment: